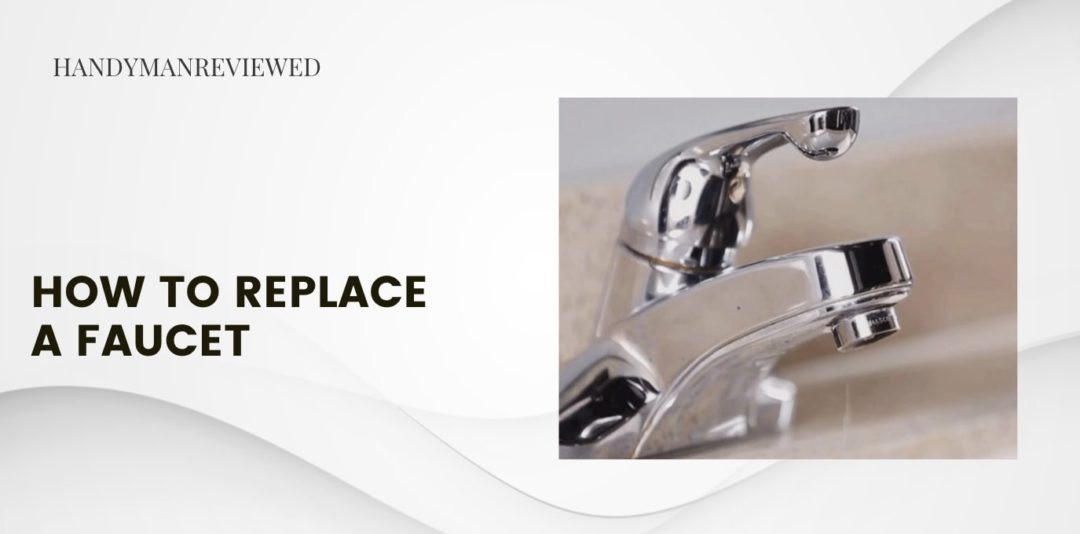
Replacing a faucet in your kitchen or bathroom isn’t hard. It can all be done without exceeding one hour and calling in an expensive plumber or renovator.
Let us show you how you can change your aged or leaky faucet with our guide here. We divided it into three sections: removing your old faucet, taking out the drain, and then installing a brand-new faucet.
If you’re all set, let’s begin!
Removing Your Existing Faucet
The following are the steps for taking out your existing faucet. Bear in mind to work carefully so as not to damage the sink or piping.
1) Turn off your water supply
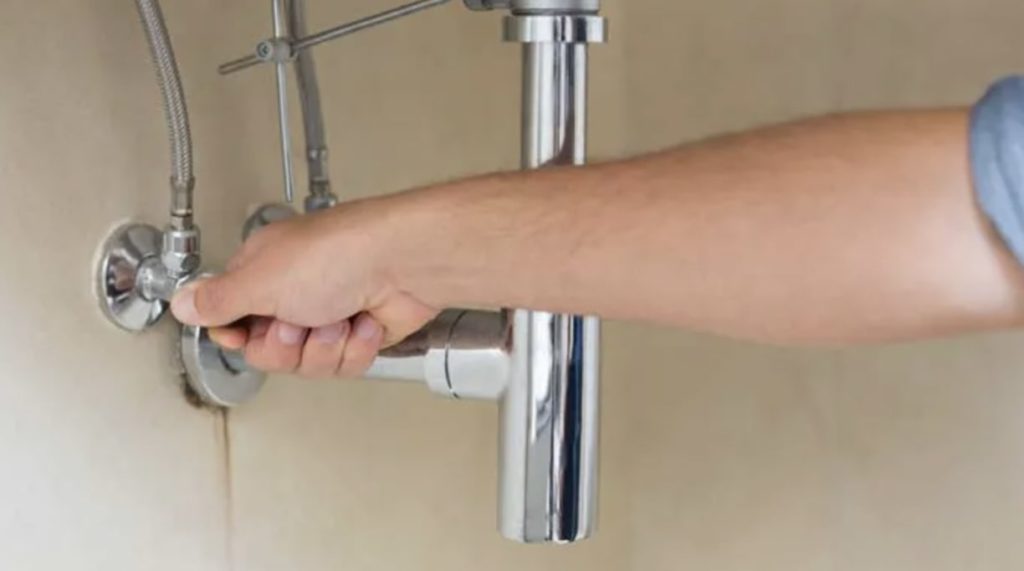
Close the water supply for your bathroom or kitchen sink. The valve should be located under the sink, which should be turned in the direction that stops the water flow, and then, open the hot and cold water of the faucet and drain out the leftover water.
2) Remove the supply lines
Disconnect the supply lines of the faucet, also situated below the sink. Follow this up by removing the lifting rod which is found at the back of the faucet, as well as the attached nuts.
As a result, you should now be able to detach your old faucet from the sink. But, before you go on to install your new faucet, take a picture of the plumbing system and the parts you removed to help with the installation work later.
Removing the Matching Drain
In case your faucet is built with a matching drain, you’d have to remove it too. Here are the steps on doing that:
1) Detach the P-trap
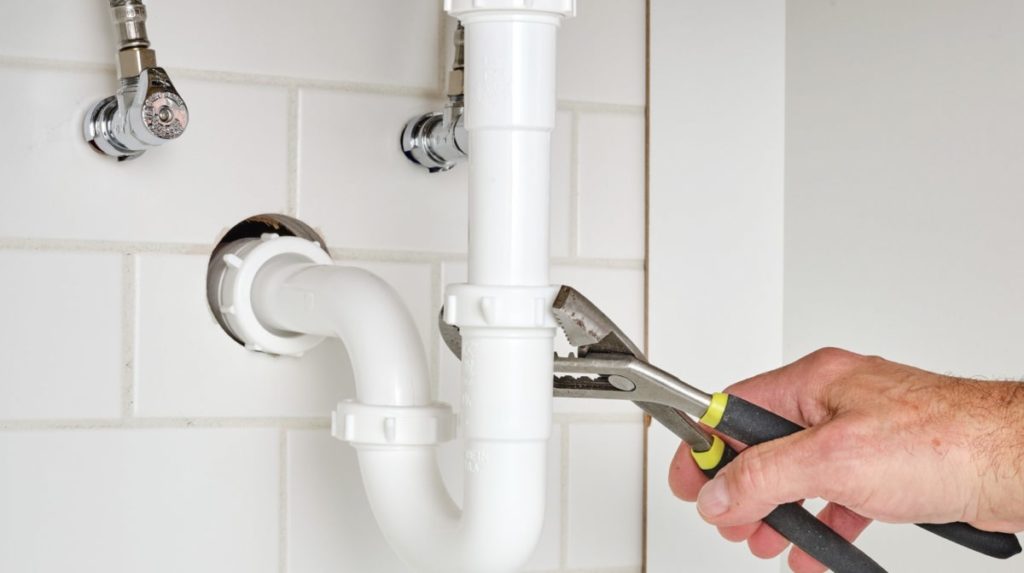
Get a bucket and place it underneath the drain called a P-Trap to catch the water. Then disconnect the drain using pliers or a wrench.
2) Clean up around the faucet holes and drain
Clean up the water spills and debris around the drain. Using a dry cloth, wipe the area around the faucet.
If there’s silicone sealant on the edges, you can use mineral spirits to clean them completely and prepare for the new faucet installation.
Installing a New Faucet
So you’re now ready to install your new faucet. The one you will buy should match and fit the holes in your sink.
It’s also important that you follow the installation guide in the manual provided. Anyway, here is the general way of setting up your new faucet:
1) Insert the new faucet
Place the gasket under each bar of the new faucet and fit it into the sink’s holes. The gasket cushions the faucet’s attachment and prevents water from leaking out at the base of the spout.
Once in place, tighten the nuts under the faucet below the sink.
2) Install the drain body and rubber gasket
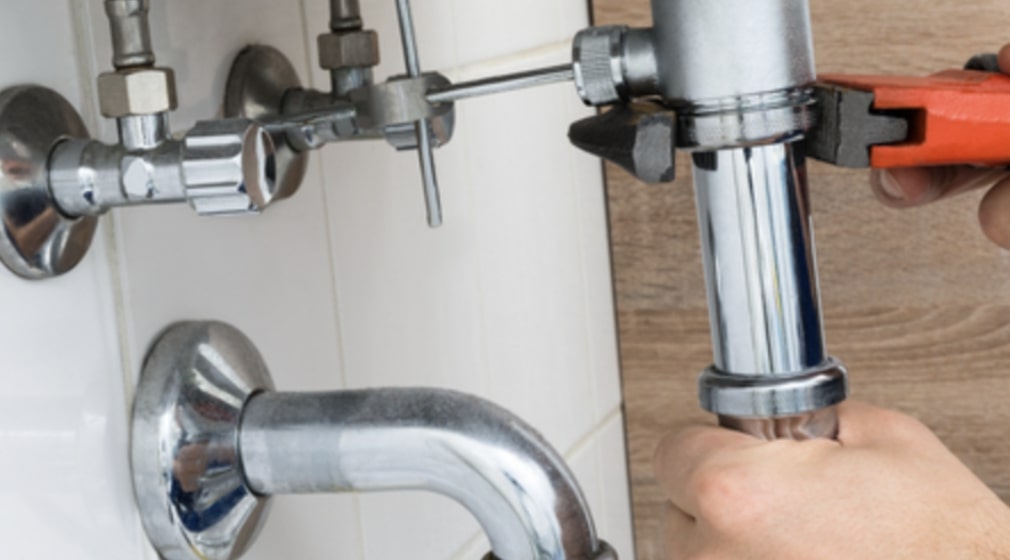
Next, hook up the drain body and rubber washer to the sink. Apply a small amount of silicone between the bottom of the drain and the gasket to prevent leaks from occurring.
Secure all of them by tightening the nut. However, if there is excess silicone on the plumbing, clean it up by using mineral spirits.
3) Connect the ball rod
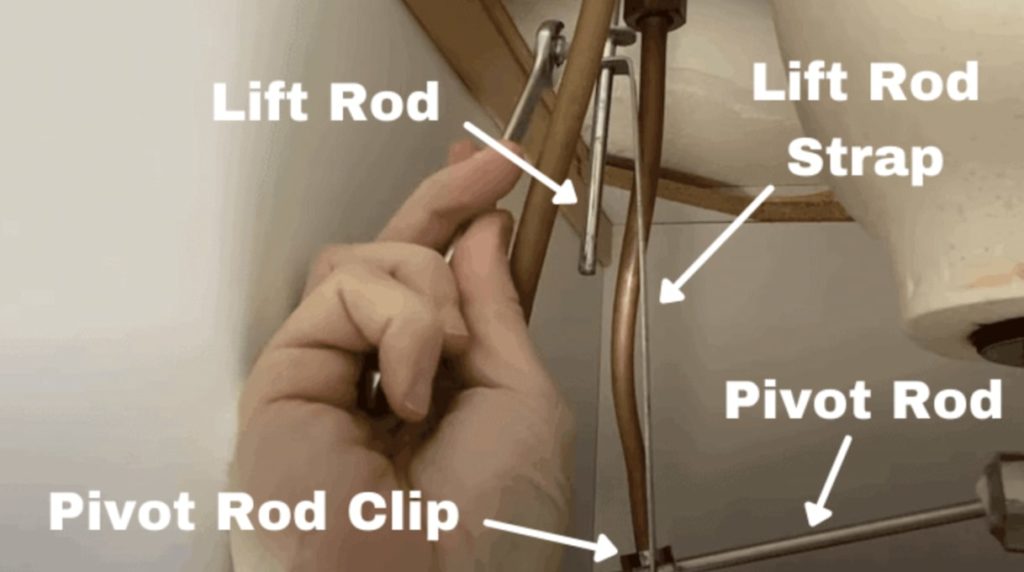
The purpose of the ball rod part of a faucet is to connect the drain stopper to a lift rod. So if you push down the lift rod the faucet drain opens up for the water to go in and vice versa.
To do this, insert the ball rod into the drain body and tighten its clip. Subsequently, insert the lift rod and link it to the lift rod strap, and then, connect the ball rod to the lift rod strap.
4) Attach the supply lines
Now, connect the supply lines to the sink and their other ends to the water valve.
5) Test-drive the faucet
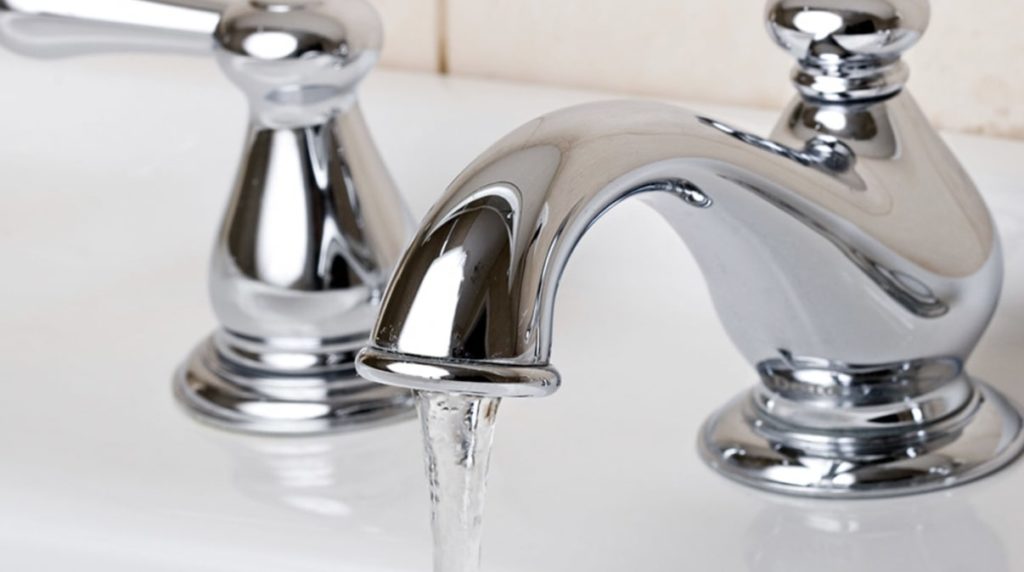
Before you call it a day, test-drive the faucet to see if there’s no leaking whatsoever for both cold and hot water and that all the parts are tight and working correctly.
If you find no faults in your DIY build, then the faucet’s good to go. You can now use it to wash your hands, face, dishes, or other items!

