If your house’s wood has rotted due to roof leaks or fungi, it doesn’t mean you will have to replace the entire portion or thing with new wood.
As soon as you notice rotting wood, you can just use epoxy resin to put the damaged part back in place. Then you can paint or stain the architectural component in order to repair it fully.
Worry not, though, as we’ll walk you through the entire process of repairing rotted wood. As a result, you can fix it yourself without calling in a carpenter or handyman!
Materials You’ll Need
Before you begin, you need to gather the materials and tools needed for the work, which are the following:
- Screwdriver
- Spatula
- Tack cloth
- Brush
- 5-in-1 painter’s tool
- A pair of gloves
- Sandpaper
- Sanding block
- Plastic container
- Epoxy resin
- Heat gun
- Spindle sander
How to Repair Damaged Wood
Having gathered the essential supplies, here are the steps to repairing damaged wood on your property:
1) Scrape off the rot

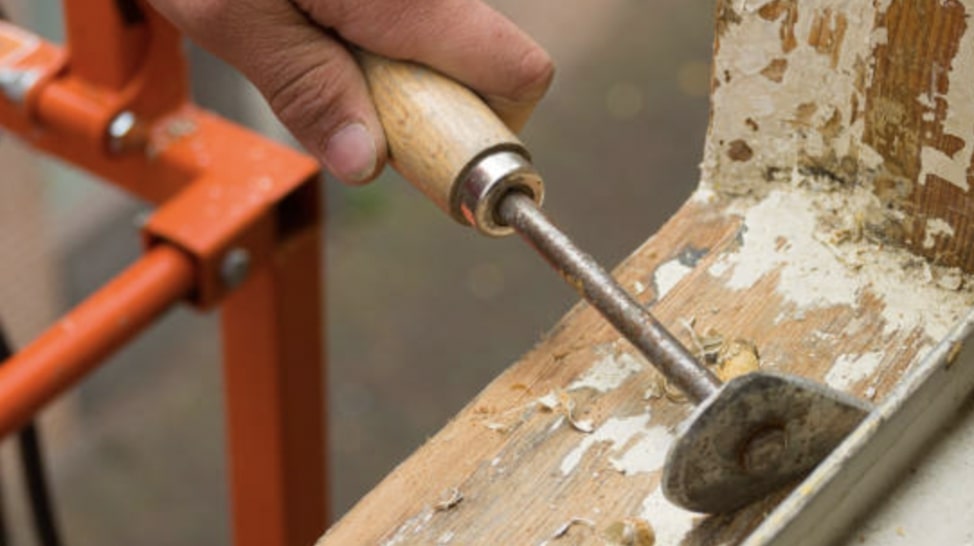
First, scrape out the rot because you won’t need it anymore. Use a spatula, screwdriver, or even a multi-purpose painter’s tool to get rid of them.
Furthermore, wear gloves and remove the hanging or loose wood pieces to avoid accidental scratches or injuries.
2) Let the wood dry
Rotten wood is caused by being saturated with water and the spreading of mold and mildew. So the first thing you have to do is let the splintered wood dry first.
For interior wood, you can use a fan to expedite the drying process. While for exterior ones, you can use a heat gun or let them dry naturally.
And don’t forget to cover the exterior wood with a plastic sheet to protect it from rain, and leave space enough for air circulation.
3) Combine epoxy consolidants
Simply put, an epoxy consolidant works to strengthen and glue wooden parts. It has two parts and should be mixed in a plastic container using a wooden stick or a chopstick.
Then, take a large amount with a chip brush and apply it to the damaged wood. The heavy coating will effectively fill its cracks and recesses.
4) Leave the consolidant
Wait for about two or three hours for the wood epoxy consolidant to harden. Be aware that it will take less time to dry in warmer temperatures and more time in colder temperatures.
5) Mix the filler
Like the consolidant, a wood filler also has two parts (part A and part B). Mix both of them in a new plastic container with a stick.
But before that, wear latex gloves to protect your hands from this hardening compound.
6) Apply the filler
Now, using a spatula, apply the filler to the missing wood area or the area on which you removed the rotten wood earlier.
Mold the filler to the shape of the wood piece that was previously there. Make it slightly larger than normal, and then, press in the filler firmly.
7) Sand the filler

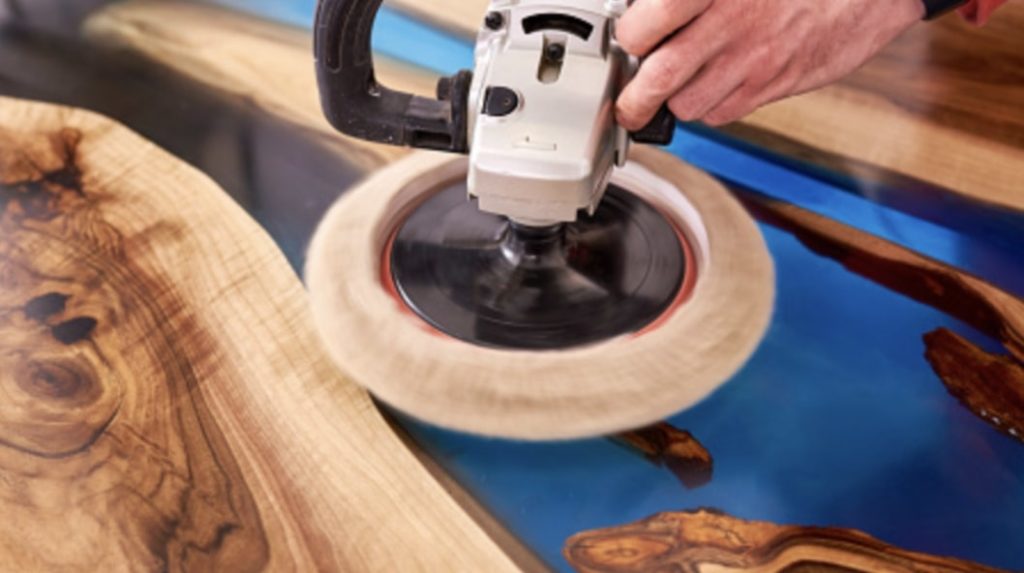
Let the filler harden for a few hours. Then attach 100-grit sandpaper to an orbital sander or sanding block, and proceed to sand the filler to the original size of the wood piece.
8) Smoothen the filler
Switch to 220-grit sandpaper and sand the filler until it becomes smooth to the touch.
9) Paint or stain the filler

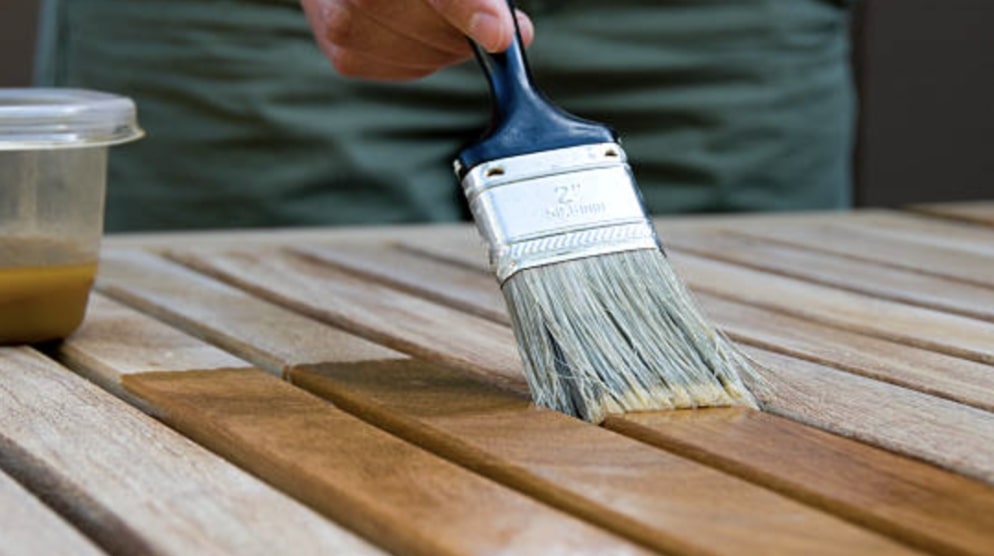
Clean up the remaining dust and debris with a tack cloth. Have it your way of painting or staining the filler to give it a color matching or accenting the adjoining wood.


