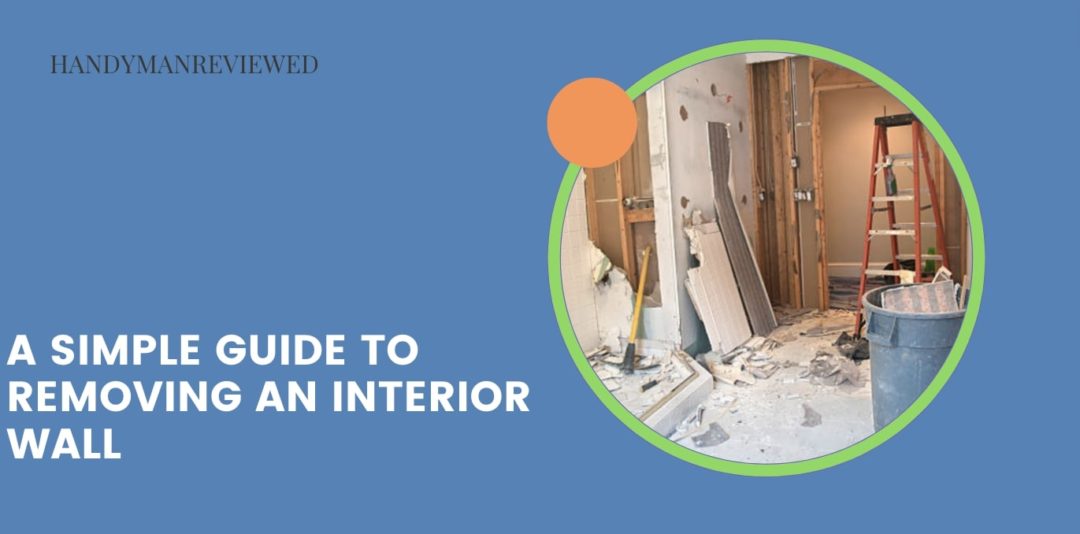
Most homeowners think of removing their interior walls to remodel their homes or to just have a bigger space.
Interior walls come in two types: load-bearing and non-load-bearing walls. Simply put, the difference between the two is the first holds the weight of certain structures above it like the attic, ceiling, and roof, while the latter supports only its own weight.
Hiring a carpenter and other specialists is highly recommended for safety and efficiency, though you can carry out the work yourself. And this guide right here will help you to do that.
How to Remove Non-Load-Bearing Walls
Even though taking down a non-load-bearing wall sounds easier to do than its counterpart, it still requires some time and effort.
Here’s a summary of what you need to do for this job.
1) Find out what’s behind the wall
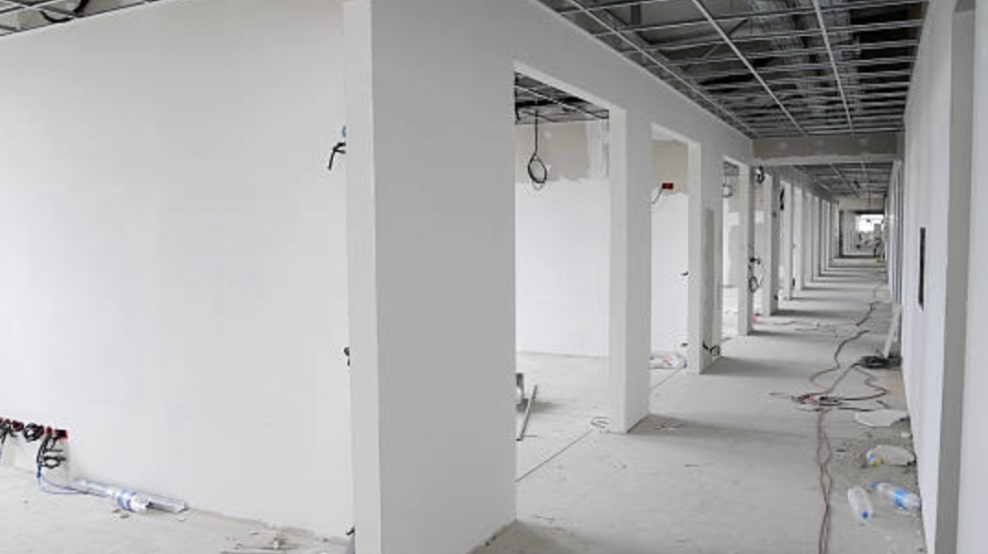
Before you take down the wall, it’s vital to know what’s lurking behind it. Often, there are electrical wiring and plumbing lines behind it reliably hinted at by the room they’re in.
As you know, a DIYer can’t just tamper or mess with these utility lines or air ducts, as this makes the house unsafe and may result in an expensive fine.
2) Obtain a building permit and inspection

So if you wish to knock down the wall by yourself, you’d have to obtain a building permit and inspection at least two weeks in advance of the project.
Note that you may also have to get other permits depending on the service lines in the wall. If you don’t want to be bothered by any of these requirements, get the appropriate contractor to handle the work for you.
3) Close your main power or water supply
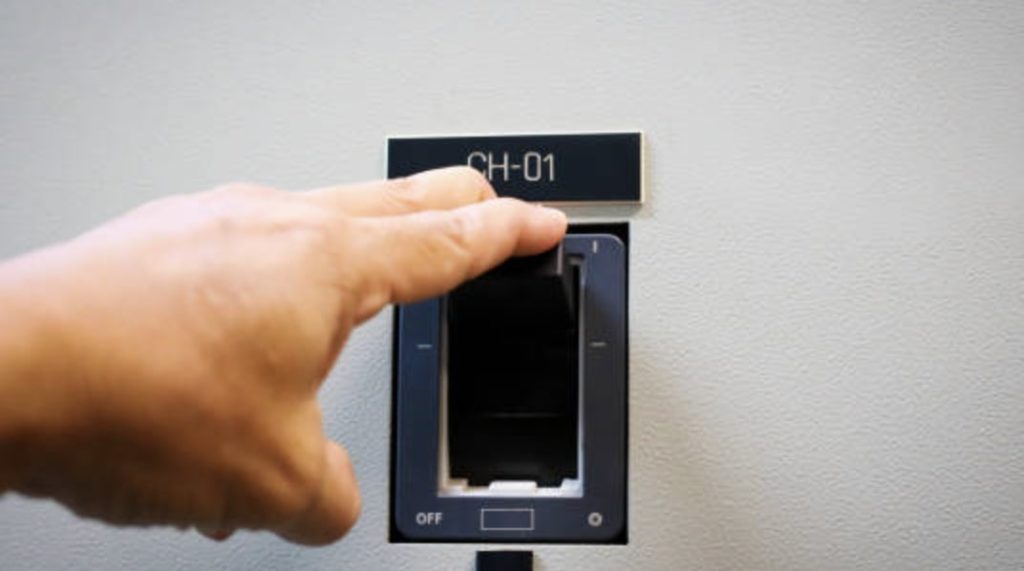
Now proceed to shut off the main power and water supply in your house. This is an important step in ensuring safety when working to remove your interior wall.
In addition, remove the light switches and cases on the drywall if there are any.
4) Remove the drywall
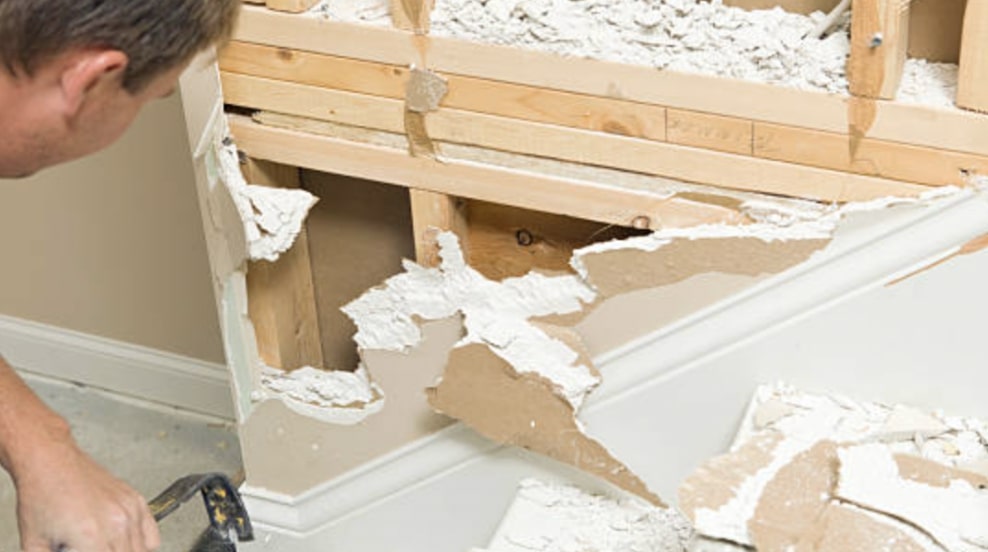
Removing the drywall will be a messy job. To avoid making a big mess, you can plan it beforehand.
Once you’re ready, cut the wall along the edges of the stud (the upright support of the drywall), remove the screws on the sides, and then take it out.
The piece of plaster or wallboard may be too large for you to cut and carry. In this case, you can cut it into smaller, more manageable sections before taking it out.
5) Take out the studs, nails, and plates
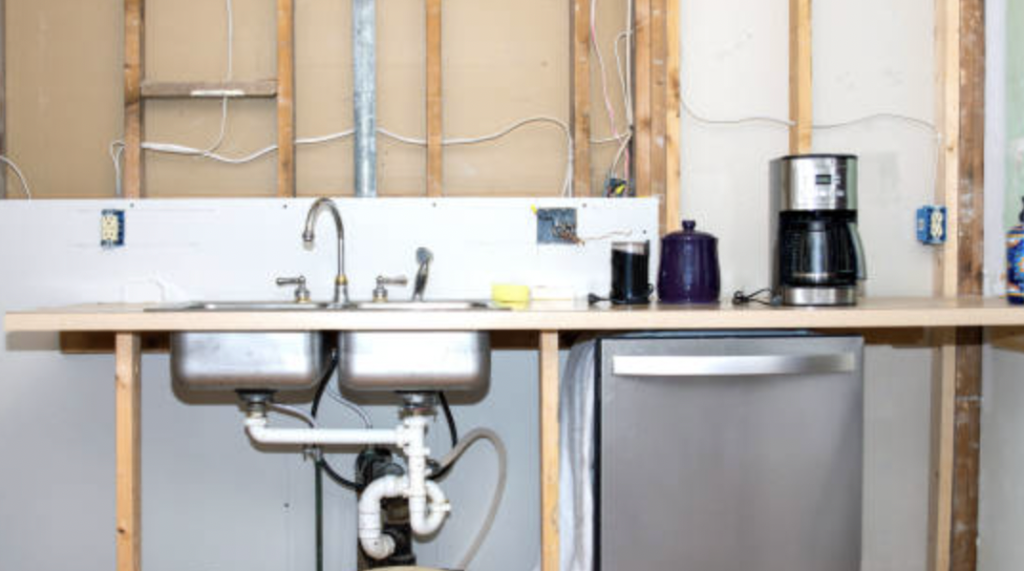
What should be left then are the stud, nails, and plates. Be careful and remove the stud by cutting it at the center and then remove the exposed nails and plates.
You may come across sharp metals and electrical wires in the process. As always, wear safety gear and work safely to protect yourself and your property.
How to Remove Load-Bearing Walls
As opposed to non-load-bearing walls, load-bearing walls are significantly harder to do.
Because removing the drywall will risk the house caving in as a result of having some support structures removed, you must install temporary support structures before removing the wall.
After the project is complete, you also have to install support beams and posts for the house. Given this technicality, it’s best to consult with an architect or structural engineer for this work.

