A well-maintained and visually appealing bathroom can significantly enhance the overall ambiance of your home. However, the common perception is that updating bathroom tiles requires a costly and time-consuming remodeling project.
Fortunately, there are alternative solutions available that allow you to revamp your bathroom tile without the need for a full replacement.
In this article, we will explore creative and cost-effective methods to breathe new life into your bathroom tiles.
Why replace bathroom tiles?
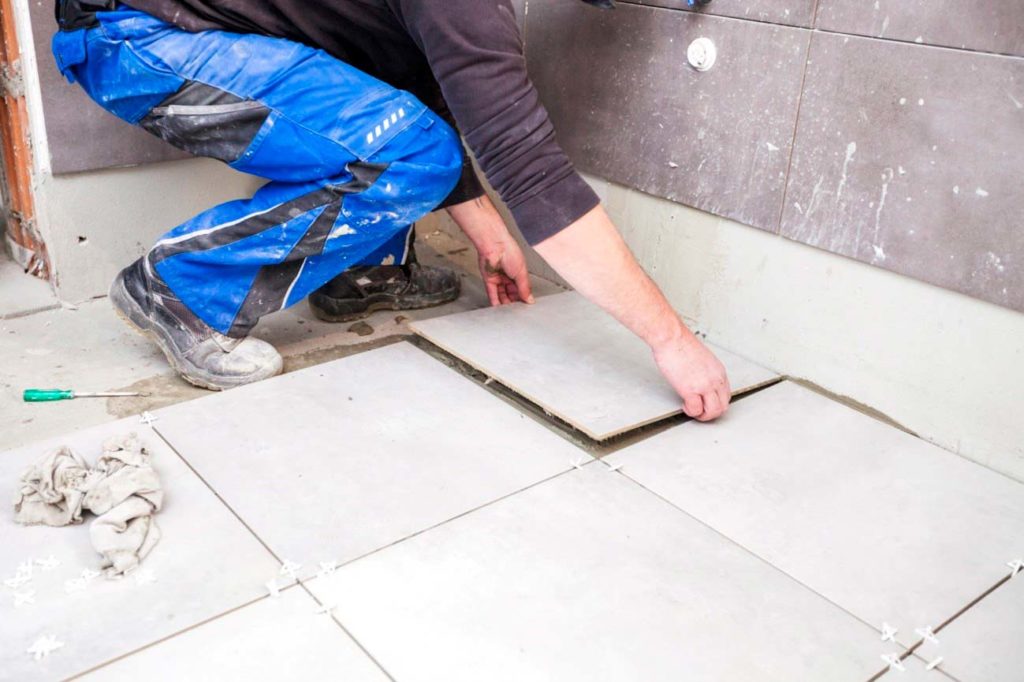
Before delving into the alternative solutions, let’s briefly discuss why homeowners often consider replacing bathroom tiles:
- Wear and Tear: Over time, bathroom tiles can become worn, cracked, or chipped, detracting from the overall appearance of the space.
- Outdated Design: As design trends evolve, your bathroom tiles may start to look outdated and no longer align with your aesthetic preferences.
- Stains and Discoloration: Stubborn stains and discoloration can be challenging to remove from older tiles, making them appear dull and unappealing.
Why not replace bathroom tiles?
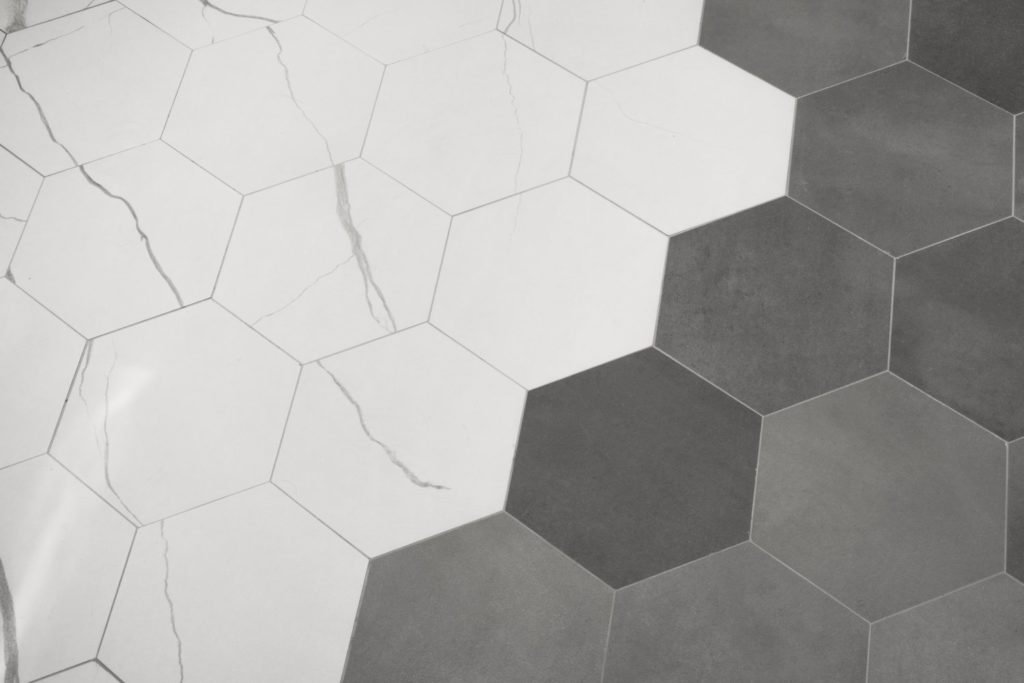
When it comes to updating your bathroom, replacing the tiles may seem like the obvious choice. However, before diving into a full-scale tile replacement project, it’s essential to consider the drawbacks associated with this approach.
Let’s explore why replacing bathroom tiles may not be the most ideal solution:
- Costly Remodeling: Replacing bathroom tiles typically involves significant costs, including the purchase of new tiles, labor expenses, and potential structural modifications.
The expenses can quickly add up, especially if you’re working with a limited budget.
- Time-Consuming Process: Undertaking a tile replacement project can be time-intensive.
From selecting new tiles to removing the old ones, preparing the surface, and installing the new tiles, it can disrupt your daily routine and take weeks or even months to complete.
- Mess and Dust: Remodeling projects, including tile replacement, often generate dust, debris, and mess.
It requires thorough cleaning and temporary adjustments to your living arrangements. Dealing with the aftermath of the construction process can be inconvenient and add to the overall hassle.
Alternative Solutions
Thankfully, there are several effective approaches to updating bathroom tiles without the need for replacement. These alternatives offer affordability, convenience, and minimal disruption to your daily routine.
Let’s explore some of the creative solutions available:
Deep Cleaning and Grout Restoration
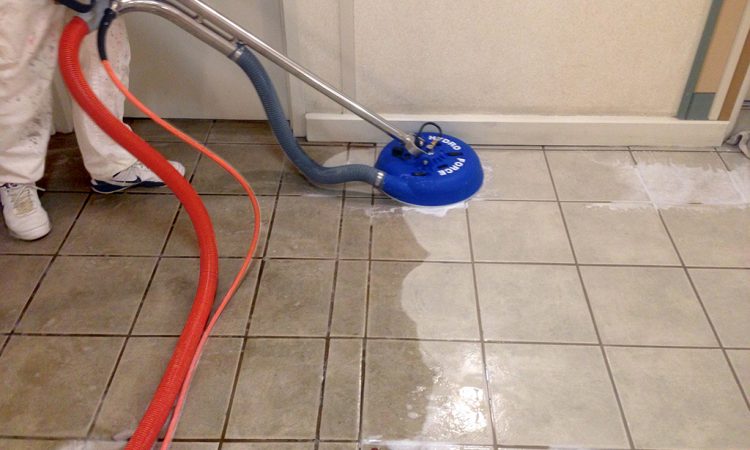
Over time, dirt, grime, and soap scum can accumulate on bathroom tiles and grout lines, making them appear dull and lackluster. Deep cleaning and grout restoration offer a simple way to refresh the look of your bathroom tiles.
Here’s how you can revitalize the appearance of your tiles:
- Gather the Necessary Supplies: Start by gathering specialized tile cleaners, grout brushes, scrubbing pads, and grout sealers. These products are designed to effectively clean and restore the tiles and grout lines.
- Prepare the Area: Before you begin, clear the bathroom of any personal items and ensure good ventilation by opening windows or turning on fans.
Protect other surfaces, such as countertops or fixtures, from cleaning solutions or splatters by covering them with plastic or towels.
- Tile Cleaning: Apply the appropriate tile cleaner to the tiles and let it sit for a few minutes to loosen dirt and grime.
Use a soft scrub brush or a non-abrasive scrubbing pad to gently scrub the tiles, paying attention to the grout lines as well. Rinse the tiles thoroughly with clean water to remove any residue.
- Grout Cleaning: Grout lines can become discolored over time. Use a grout brush or an old toothbrush along with a specialized grout cleaner to scrub away stains and discoloration.
Work in small sections, applying the cleaner and scrubbing in a circular motion. Rinse the grout lines with water and wipe away any excess cleaner.
- Grout Sealing: After the tiles and grout lines have been cleaned and dried, consider applying a grout sealer. This helps protect the grout from future stains and makes it easier to clean.
Follow the manufacturer’s instructions for applying the sealer, ensuring proper ventilation during and after the application process.
Tile Painting and Stenciling
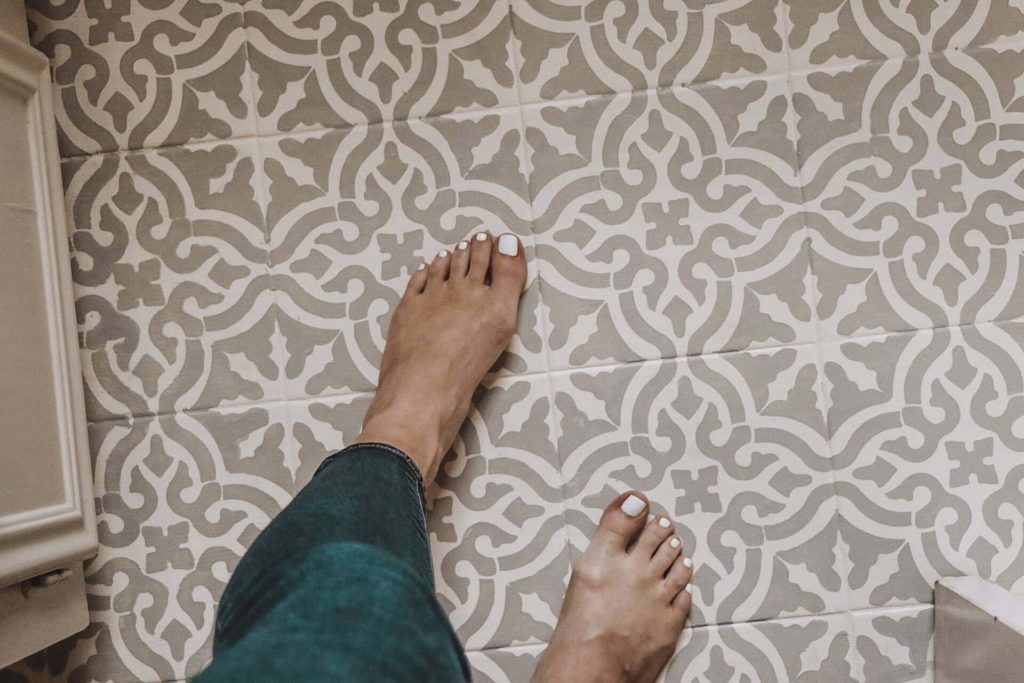
If you’re looking for a creative and budget-friendly solution to update your bathroom tiles, tile painting and stenciling can be an excellent option.
With the right tools, preparation, and paint designed specifically for tiles, you can achieve a fresh and vibrant look in your bathroom. Here’s how you can transform your tiles through painting and stenciling:
- Clean the tiles: Start by thoroughly cleaning the tiles to remove any dirt, grease, or residue.
Use a mild detergent and a sponge or cloth to wipe down the tiles, ensuring they are clean and dry before painting. It’s important to ensure the surface is smooth and free from any imperfections.
- Choose the right paint: Select a high-quality paint specifically formulated for tile surfaces.
Look for epoxy or latex-based paints that are designed to withstand moisture and high humidity levels in bathrooms. Consider the color scheme you want to achieve and choose paint colors that complement your bathroom decor.
- Prime the tiles: Apply a suitable primer to the tiles before painting. The primer helps create a smooth and adhesive surface for the paint to adhere to.
Use a paintbrush or a roller to apply an even coat of primer, following the manufacturer’s instructions. Allow the primer to dry completely.
- Apply the paint: Once the primer is completely dry, it’s time to apply the paint. Use a brush or a roller to evenly coat the tiles with your chosen paint color.
Start from the edges and work your way inward, ensuring thorough coverage. Apply multiple thin coats of paint rather than a single heavy coat for better durability and a smoother finish.
Allow each coat to dry completely before applying the next one.
- Use stencils for added flair: To add a unique touch to your painted tiles, consider using stencils to create patterns or designs. Stencils allow you to achieve intricate details and give your tiles a personalized touch.
Place the stencil over the painted tile and secure it in place. Use a small brush or a sponge to carefully fill in the stencil with a contrasting paint color.
Once the paint has dried, carefully remove the stencil to reveal the design.
- Seal the paint: To protect the painted tiles and ensure longevity, it’s essential to seal the paint. Use a clear, waterproof sealant designed for tile surfaces.
Apply a thin and even layer of sealant over the painted tiles, following the manufacturer’s instructions. This helps protect the paint from moisture, stains, and daily wear and tear.
Tile Overlays and Peel-and-Stick Tiles
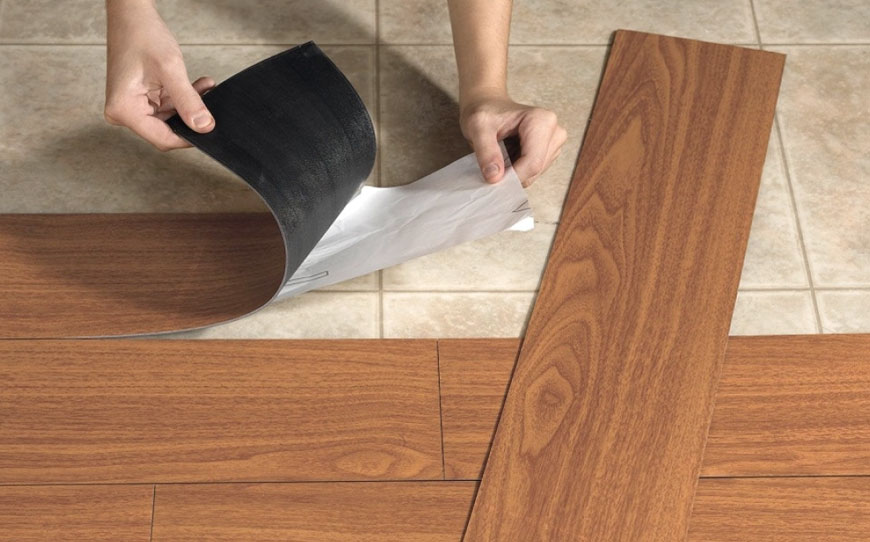
If you’re seeking a quick and convenient way to update your bathroom tiles without the hassle of extensive preparation or the cost of a full tile replacement, tile overlays and peel-and-stick tiles are excellent options to consider.
These alternatives offer versatility and a wide range of designs and materials, allowing you to achieve your desired aesthetic.
Additionally, these alternatives are typically more affordable compared to a complete tile replacement, making them cost-effective.
Let’s explore these options in detail:
- Tile Overlays: Tile overlays are thin coverings that can be applied directly over existing tiles, providing a fresh surface and a brand-new look. These overlays are typically made of materials like porcelain, ceramic, or stone.
They come in various sizes, shapes, and designs, allowing you to choose the one that best suits your style and preferences. Tile overlays are relatively easy to install and require minimal preparation.
They can be cut to fit around fixtures and edges, ensuring a seamless and professional appearance.
- Peel-and-Stick Tiles: These self-adhesive tiles come with a pre-applied adhesive backing, eliminating the need for additional adhesives or special tools.
Peel-and-stick tiles are available in a wide array of designs, patterns, and materials, including ceramic, vinyl, or glass.
The installation process is straightforward: simply peel off the protective backing and stick the tiles onto the clean and dry surface of the existing tiles.
The adhesive is strong enough to hold the tiles securely in place, providing a durable and long-lasting solution. Peel-and-stick tiles offer flexibility, allowing you to easily remove or replace them in the future if desired.
Maintenance Tips for Updated Tiles
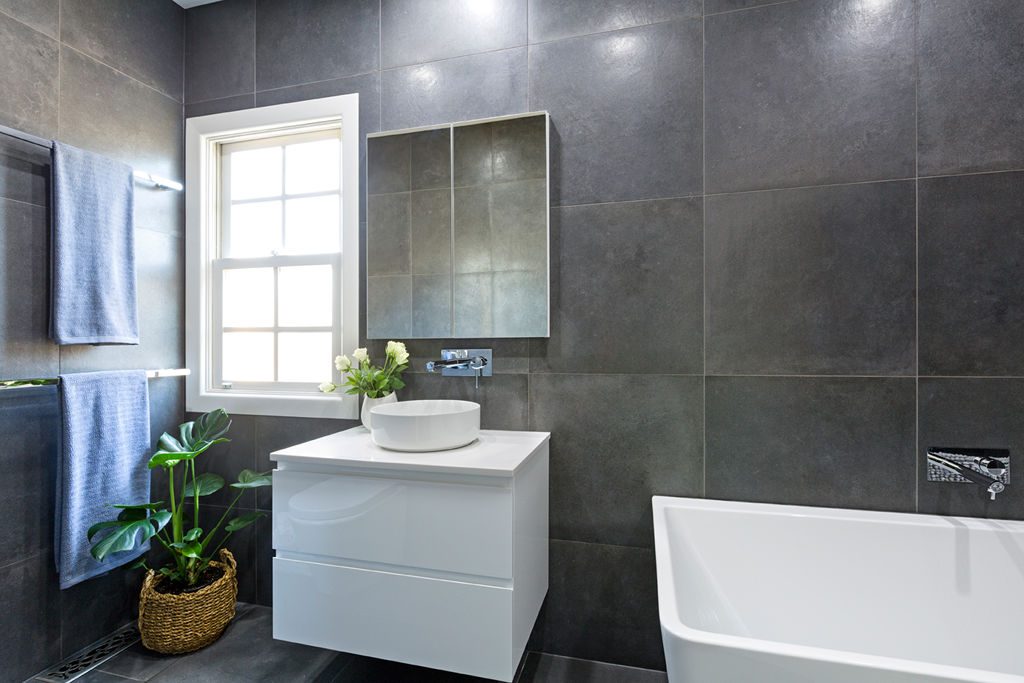
After updating your bathroom tiles, it’s crucial to take proper care to preserve their refreshed appearance and extend their longevity. Here are some maintenance tips to keep in mind:
- Avoiding abrasive cleaning products: Steer clear of harsh or abrasive cleaners that can potentially damage the tiles or grout.
These products may cause scratches, discoloration, or erosion. Instead, opt for mild, non-abrasive cleaners specifically formulated for tile surfaces.
- Regular cleaning: Regular cleaning is essential to maintain the shine and cleanliness of your updated tiles. Establish a routine for cleaning your bathroom tiles using mild cleaners and warm water.
Avoid using excessive water, as it can seep into the grout lines and cause damage to them. Gently scrub the tiles using non-abrasive tools like soft brushes or microfiber cloths.
- Grout maintenance: Pay attention to the grout lines, as they can accumulate dirt, grime, or mold over time. Regularly clean the grout using a mild grout cleaner and a grout brush.
Avoid using abrasive tools that could damage the grout. Consider applying a grout sealer periodically to protect the grout from staining and make it easier to clean.
- Preventive measures: Take preventive measures to minimize wear and damage to your updated tiles. Use mats or rugs in high foot traffic areas to prevent excessive wear.
Promptly clean up any spills or stains to prevent them from setting into the tiles or grout. Avoid dragging heavy objects across the tiles, as it can scratch or chip them.
- Routine inspections: Conduct routine inspections of your bathroom tiles to identify any signs of wear, damage, or deterioration. Look for cracked or chipped tiles, loose grout, or any areas that may require touch-ups or repairs.
Timely attention to these issues can prevent further damage and ensure the long-term integrity of your tiles.

