If you’re considering switching from a gas stove to an electric stove, one essential step in the process is capping the gas line properly.
Capping the gas line not only ensures a safe transition but also prevents potential gas leaks, saves energy, and cuts costs.
In this guide, we’ll walk you through the step-by-step process of capping a gas line safely.
It’s crucial to prioritize safety, and if you’re uncertain about any part of the process, don’t hesitate to hire a professional to handle the task.
Understanding Gas Lines and Safety Precautions
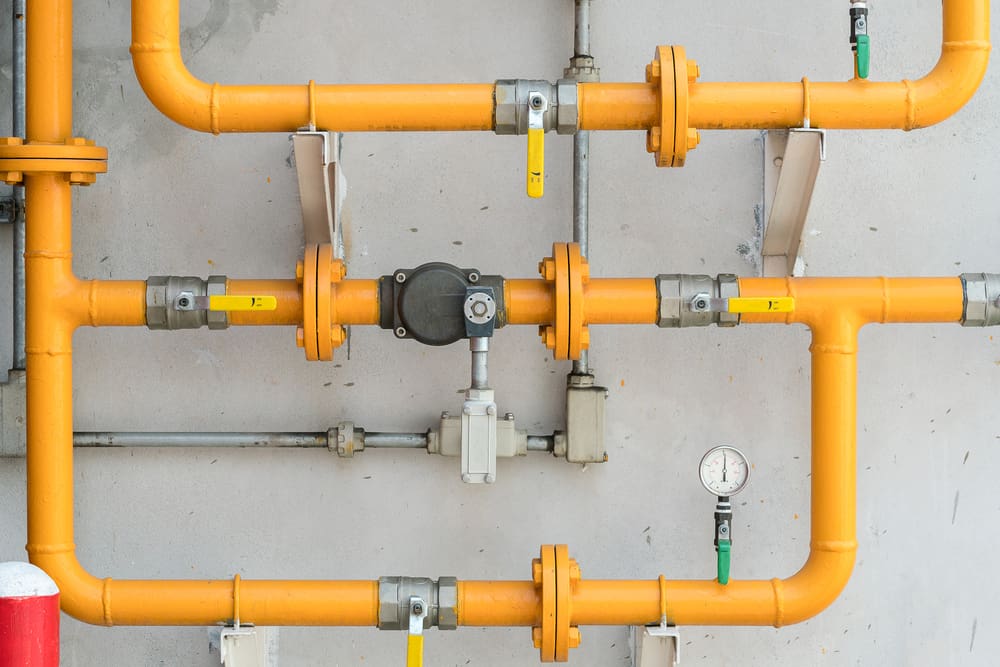
Gas lines are an integral part of a home’s infrastructure, responsible for supplying natural gas or propane to various gas-powered appliances, including stoves, water heaters, and furnaces.
It’s crucial to have a basic understanding of gas lines to ensure a safe and successful capping process.
Types of Gas Used
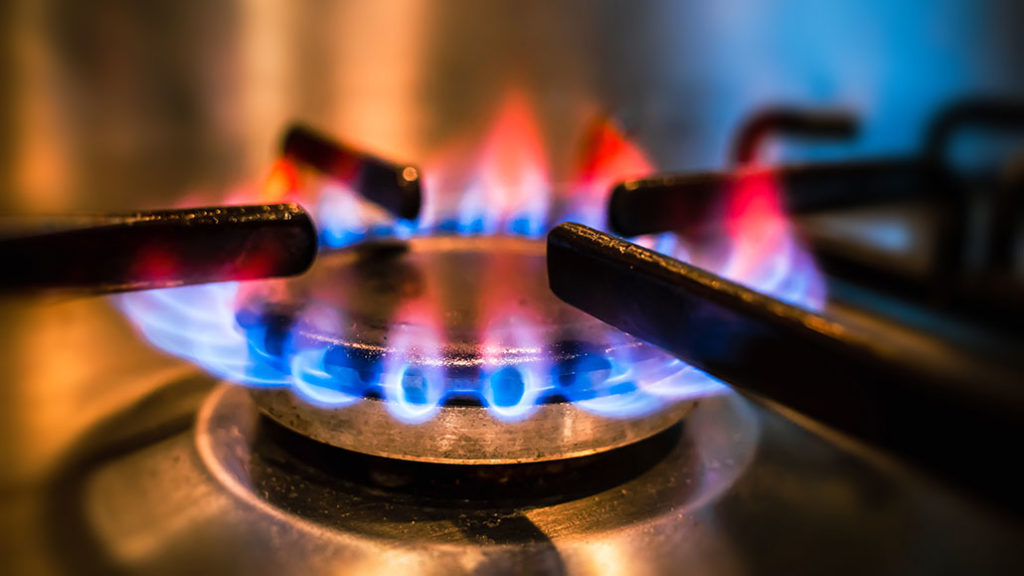
- Natural Gas: The most common type of gas used in residential settings, natural gas is a fossil fuel composed primarily of methane. It’s delivered to homes through underground pipelines from a local utility company.
- Propane: Propane is a liquefied petroleum gas (LPG) commonly used in areas where natural gas pipelines are not available. It’s stored in tanks on the property and delivered via truck.
Gas Line Materials
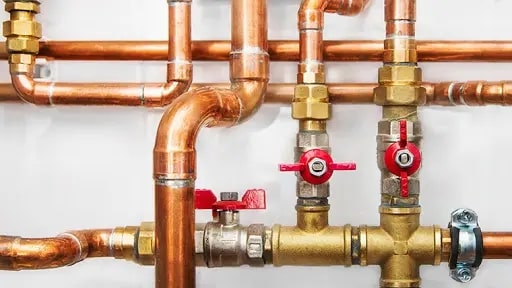
Gas lines are typically constructed using different materials, each with its advantages and applications:
- Copper: Copper gas lines are durable, corrosion-resistant, and often used for indoor gas lines. They are relatively easy to work with and have a long lifespan.
- Steel: Steel gas lines are strong and suitable for both indoor and outdoor installations. However, they can be susceptible to corrosion over time, especially in areas with high moisture.
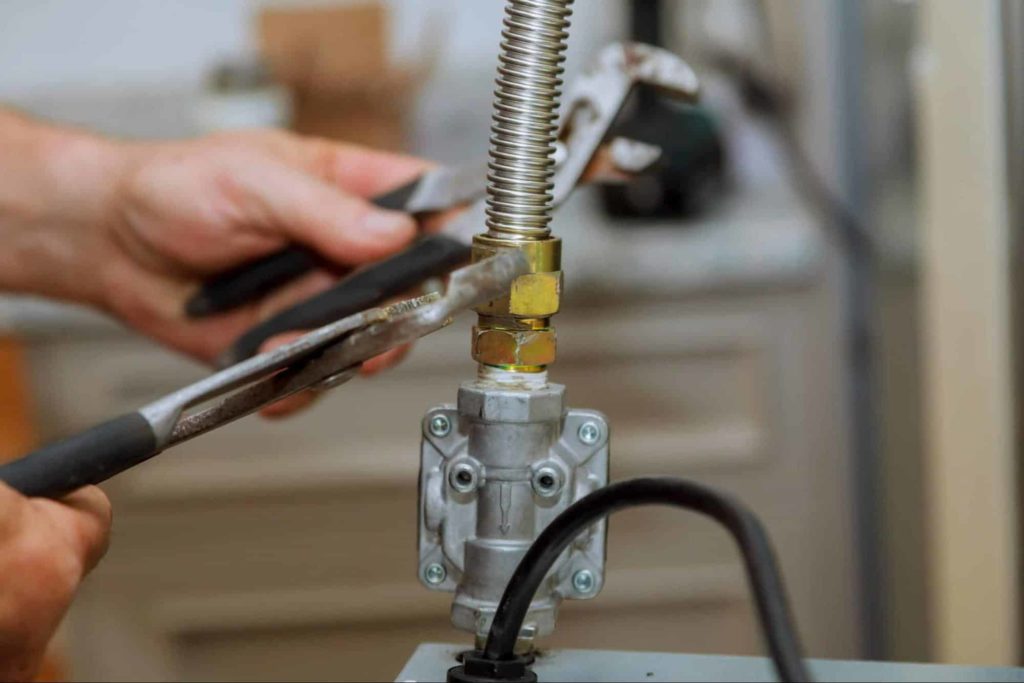
- Flexible Materials (e.g. CSST): Corrugated stainless steel tubing (CSST) is a flexible and lightweight alternative used for gas lines. It’s easy to install, reducing labor costs and the need for multiple fittings.
How to cap a gas line?
Step 1: Prepare the Work Area
Before you start capping the gas line, it’s essential to set up a safe and organized work area. Follow these steps to prepare the work area effectively:
- Clear the Area: Remove any objects, clutter, or items that may obstruct your access to the gas line or the gas appliance. A clear workspace ensures you can work safely and efficiently during the capping process.
- Remove Flammable Materials: Ensure there are no flammable materials, such as papers, rags, or solvents, near the gas line.
Flammable items pose a fire hazard when working with gas-related tasks, and keeping them away from the work area is critical for your safety.
- Provide Adequate Lighting: Good visibility is essential when working with gas lines. If the work area lacks sufficient lighting, consider using portable work lights or a flashlight to illuminate the space properly.
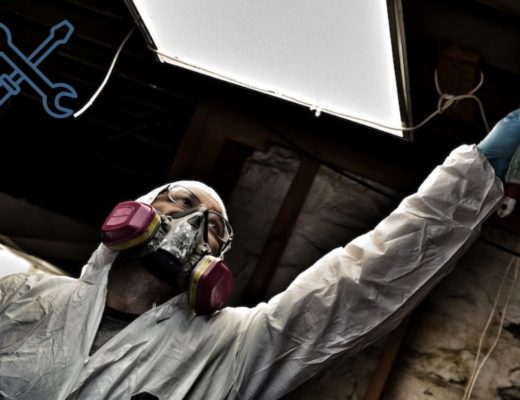
- Keep the Area Ventilated: Ensure there is proper ventilation in the work area to prevent the accumulation of gas fumes. If you are indoors, open windows and doors to promote fresh air circulation, reducing the risk of gas buildup.
Step 2: Turn off the Gas Supply
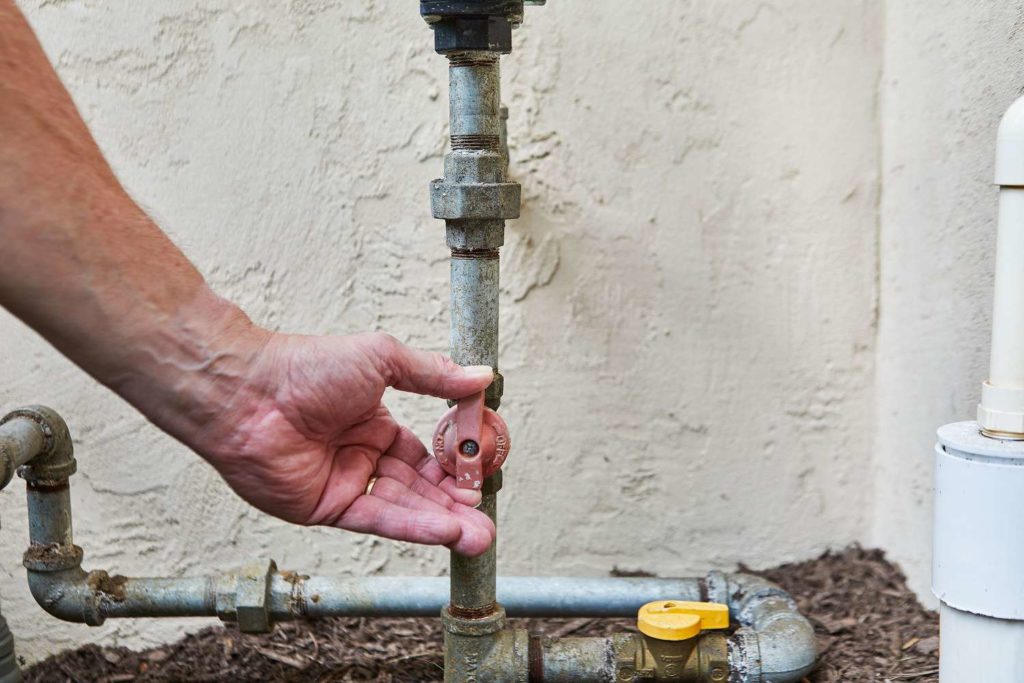
Shutting off the gas supply is a crucial safety step before working on the gas line. Follow these instructions to turn off the gas supply properly:
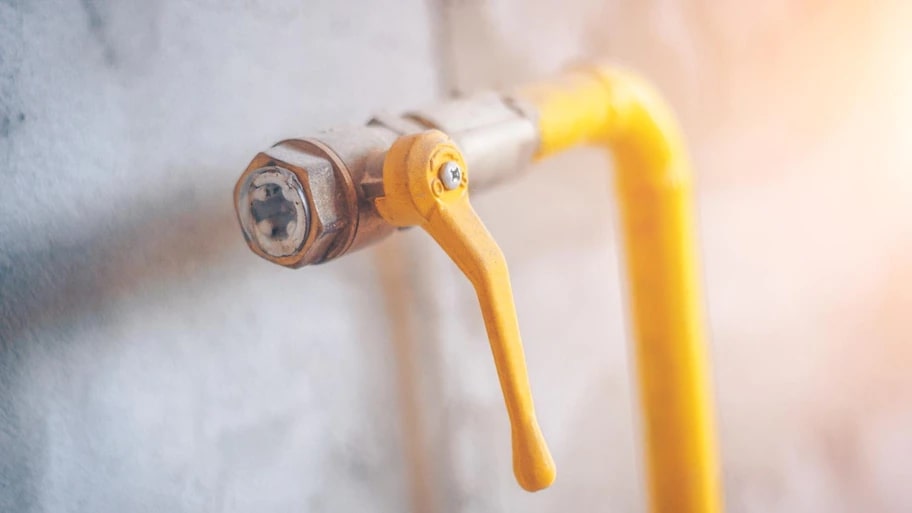
- Locate the Gas Shut-off Valve: The gas shut-off valve is typically located near the gas meter or where the gas line enters your home. It may be a lever-style valve or a round knob.
- Rotate the Valve Clockwise: Turn the gas shut-off valve clockwise until it is fully closed. This position ensures that the gas supply is shut off, preventing gas from flowing through the lines during the capping process.
- Verify the Gas is Off: Check if the gas appliances in your home, such as the stove or furnace, are no longer operational. This will confirm that the gas supply has been successfully turned off.
Step 3: Test for Gas Leaks
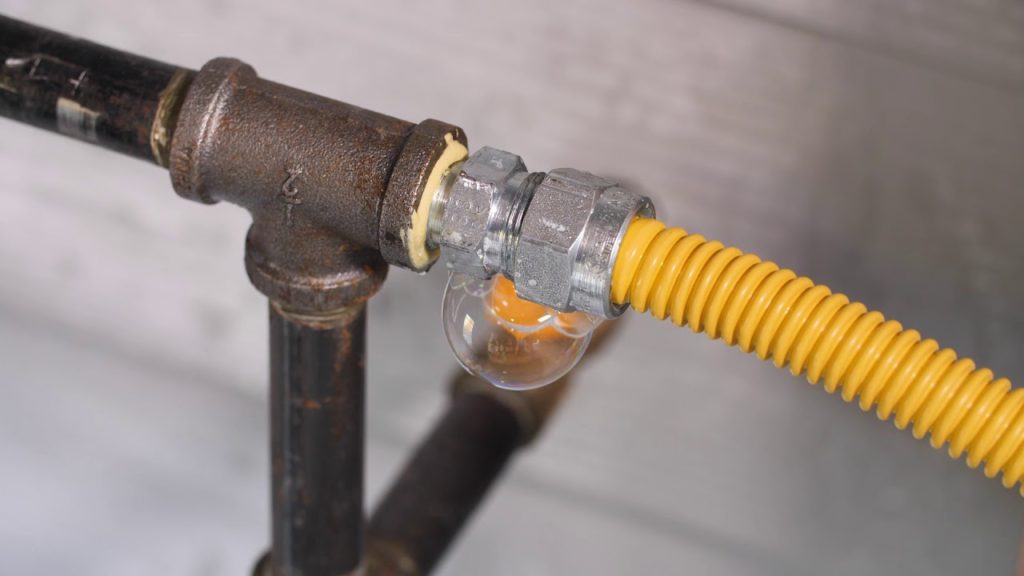
It’s crucial to perform a gas leak detection test to ensure there are no gas leaks. Follow these steps to conduct the test safely:
- Create a Gas Leak Detection Solution: Mix water and a small amount of dish soap to create a soapy solution.
- Apply the Solution: Apply the gas leak detection solution to the connections of the gas line, including fittings and joints.
- Observe for Bubbles: After applying the solution, observe the connections for any bubbles forming. If no bubbles form, it suggests that there are no gas leaks, and you can proceed with the capping process.
However, if bubbles are present, do not proceed, and seek professional assistance immediately.
Step 4: Disconnect the Gas Line
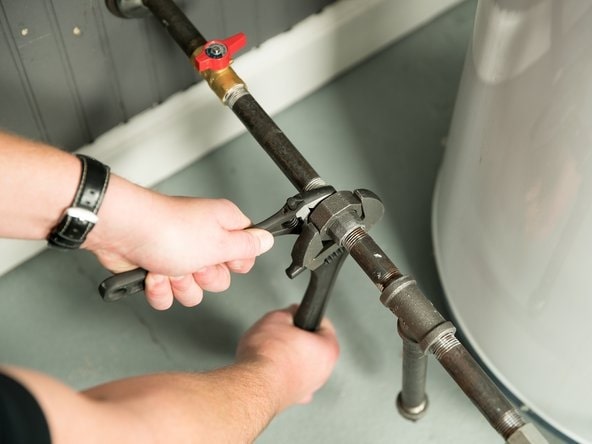
Follow these instructions to disconnect the gas line safely:
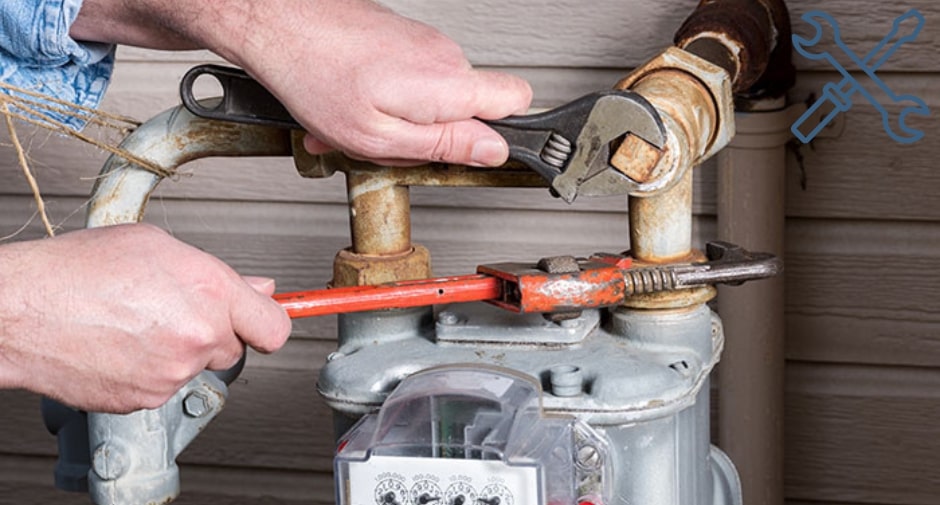
- Use an Adjustable Wrench: Locate the connection between the gas line and the gas appliance. Use an adjustable wrench to gently loosen and disconnect the gas line from the appliance.
- Exercise Caution: When disconnecting the gas line, be careful not to damage the gas line or its threads. A damaged gas line can lead to leaks or other safety issues.
Step 5: Clean and Inspect

After successfully disconnecting the gas line, it’s vital to clean and inspect it for any signs of damage or wear. Follow these steps to ensure the gas line is in good condition:
- Clean the Gas Line: Use appropriate cleaning materials, such as rags and degreaser, to remove any debris, dust, or residue from the gas line. A clean surface is necessary for a secure seal during the capping process.
- Inspect for Damage: Thoroughly inspect the gas line for any signs of damage, such as corrosion, dents, or visible wear. If you notice any issues, consult a professional for further evaluation and potential repairs.
Step 6: Apply Pipe Sealant
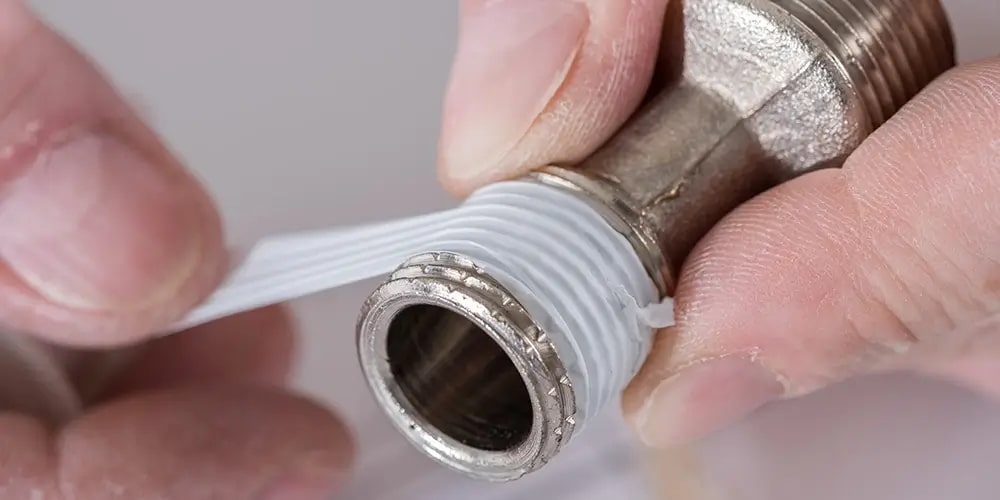
Applying pipe sealant, also known as pipe dope or thread sealant, is crucial for creating a secure seal when capping the gas line. Follow these steps to apply the pipe sealant correctly:
- Select the Right Pipe Sealant: Choose a pipe sealing compound suitable for gas applications, such as Permatex’s Pipe Joint Compound and Rocol Gasseal.
Ensure the sealant is compatible with the material of the gas line and appropriate for the type of gas used.
You may do this by reading product labels and specifications and looking for manufacturer recommendations.
- Apply the Sealant to the Threads: Take the pipe sealing compound and apply it to the threads of the gas line. The threads are the ridged sections at the end of the gas line where it will be connected to the cap.
- Ensure Uniform Coverage: Apply the pipe sealant evenly and uniformly to the threads to ensure a tight seal when capping the gas line.
Step 7: Cap the Gas Line
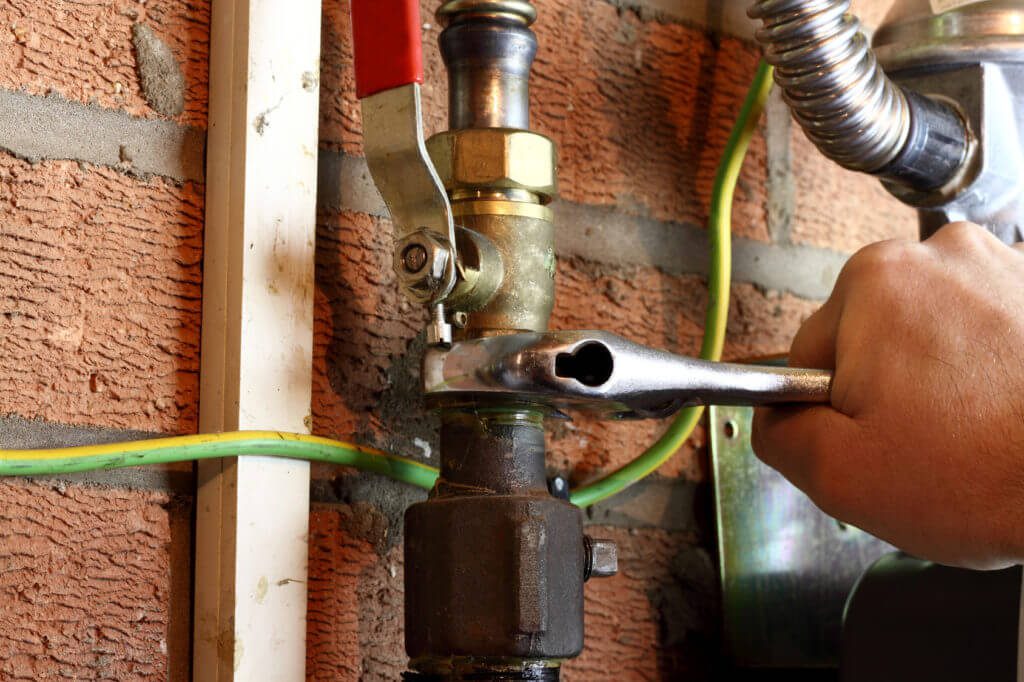
With the pipe sealant applied, it’s time to cap the gas line securely. Follow these steps to cap the gas line properly:
- Select the Appropriate Gas Line Cap: Choose a cap that matches the size and type of the gas line. Gas line caps come in different sizes to fit various gas line diameters.
- Position the Cap: Place the cap over the end of the gas line, aligning it with the threads. Make sure the cap fits snugly onto the gas line.
- Tighten the Cap: Use the adjustable wrench to tighten the cap onto the gas line. Apply gentle pressure to create a secure and leak-free seal.
Step 8: Double-Check for Leaks
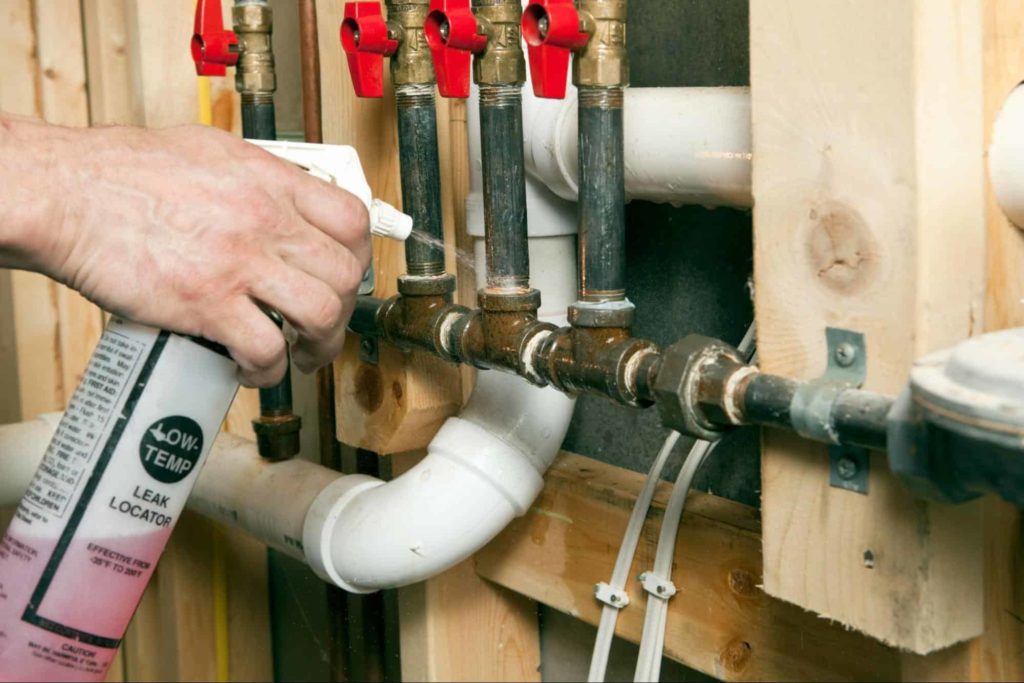
After capping the gas line, it’s essential to perform a final gas leak detection test to confirm that there are no leaks. Follow these steps to double-check for gas leaks:
- Reapply the Gas Leak Detection Solution: Reapply the gas leak detection solution to the connections and fittings of the gas line.
- Observe for Bubbles: Observe the connections for any bubbles forming. If bubbles appear, it may indicate a gas leak. If no bubbles form, it indicates that the gas line is securely capped, and there are no gas leaks.
When to Hire a Professional
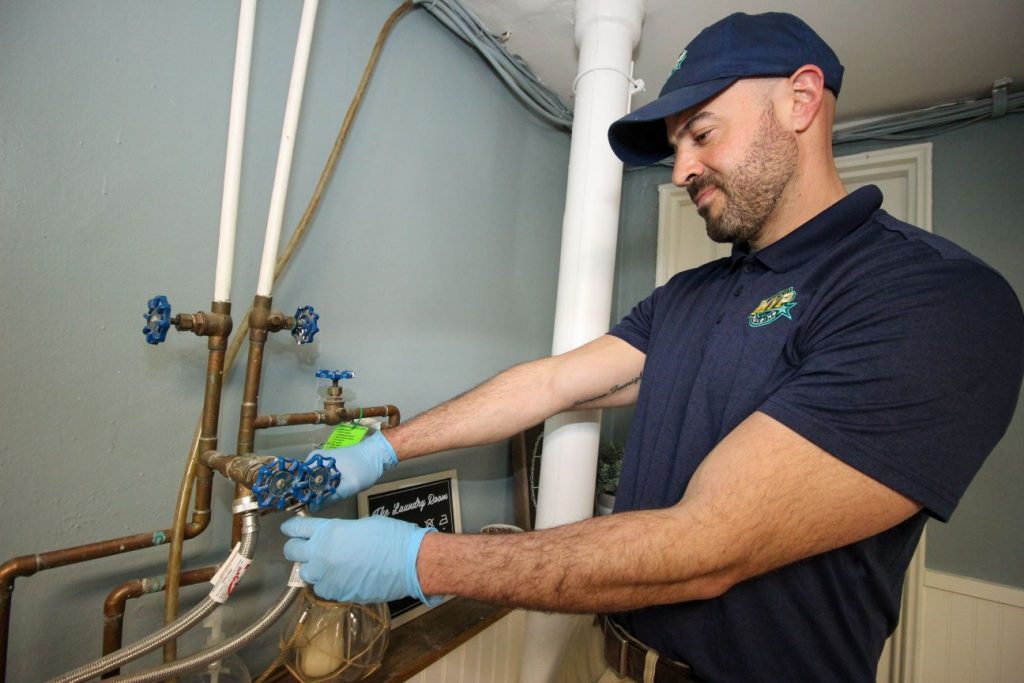
Capping a gas line can be a relatively straightforward task for homeowners with some DIY experience and basic knowledge of gas-related tasks.
However, there are situations where hiring a professional is not just advisable but essential for safety and efficiency. Here are some scenarios where it’s best to seek the expertise of a qualified professional:
- Complex Gas Line Configurations: Gas lines in some homes can be intricate, especially in older houses or properties with unique layouts.
If your gas line has complex configurations or is difficult to access, it may require specialized knowledge and tools to cap it properly.
Gas lines that are part of a complex network servicing multiple appliances may present challenges that are best handled by a professional with experience in gas line systems.
- Lack of Experience with Gas-Related Tasks: Working with gas lines requires a level of technical knowledge and expertise.
If you lack experience in handling gas-related tasks, attempting to cap a gas line on your own could lead to mistakes that may compromise the safety of your home and family.
- Safety Concerns: Gas line work involves inherent risks due to the flammable nature of natural gas and propane.
If you have safety concerns or are unsure about the correct safety protocols to follow, it’s best to leave the task to professionals. Gas leaks can be extremely hazardous and may lead to fires, explosions, or health issues.
Professional gas technicians are trained to handle gas-related tasks safely and are equipped with the necessary tools to detect and address potential gas leaks.
- Legal and Regulatory Compliance: Local building codes and regulations may dictate specific requirements for capping gas lines. Hiring a professional ensures that the capping process adheres to all relevant codes and guidelines.
Failure to comply with these regulations could lead to fines or other legal consequences.
- Warranty and Insurance Considerations: In some cases, attempting DIY gas line work without professional certification or approval may void warranties or insurance coverage.
Professional gas technicians are licensed, and their work is often covered by insurance, giving you added protection in case of any unforeseen issues.
- For Peace of Mind: Hiring a professional not only ensures the safety of your gas line but also provides peace of mind.
Knowing that a qualified expert has handled the capping process gives you confidence that your gas system is secure and functioning correctly.

