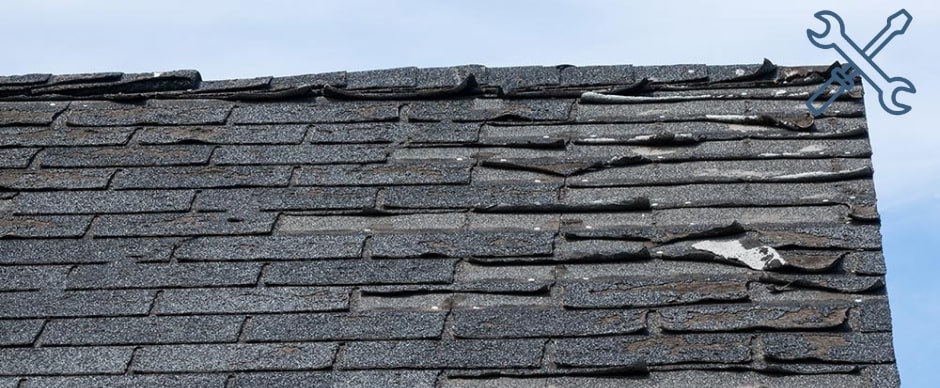
When it comes to your home, few things are as crucial as a sturdy and well-maintained roof. Emergencies can strike at any time, and dealing with sudden roof issues requires swift action to prevent further damage and protect your property.
In this comprehensive guide, we’ll walk you through the steps to repair emergency roof issues effectively and ensure the safety of your home and loved ones.
Assessing the Situation: Safety First
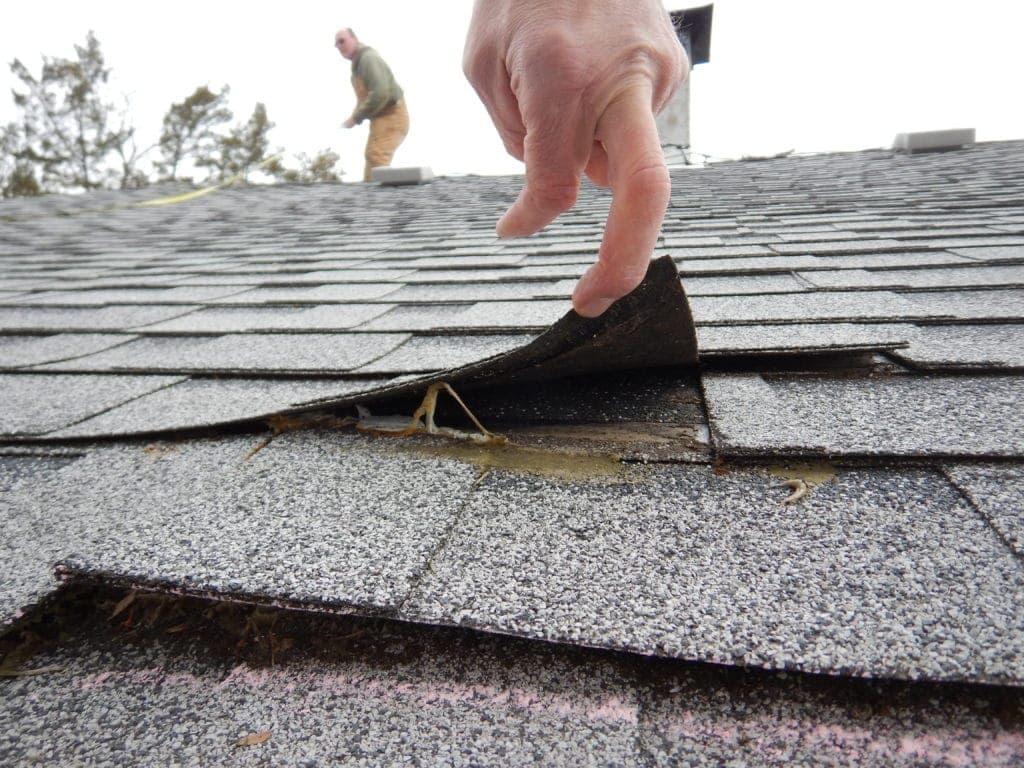
When faced with an emergency roof issue, ensuring your safety should be the top priority. Here are the key steps to take before attempting any repairs:
- Secure the area: Before inspecting or working on the roof, clear the immediate vicinity around the affected area. Remove any objects, tools, or debris that could pose a tripping hazard or potentially cause additional damage.
- Evaluate personal safety: It’s crucial to assess whether it is safe to proceed with any repairs. Avoid climbing on the roof during adverse weather conditions, such as heavy rain, strong winds, or icy conditions.
Additionally, avoid working on the roof at night or in low-light conditions to minimize the risk of accidents.
If the situation appears dangerous or if you lack the necessary skills and equipment, it’s best to call a professional roofing contractor immediately.
- Assess the severity: Take the time to evaluate the extent of the roof issue. Is it a minor leak, missing shingles, or severe storm damage?
Understanding the severity of the problem will help you determine the appropriate course of action.
- Minor leaks: If you notice a small leak, it may be possible to address it temporarily on your own.
However, keep in mind that even seemingly minor leaks can indicate underlying issues, so it’s advisable to have a professional inspect the roof.
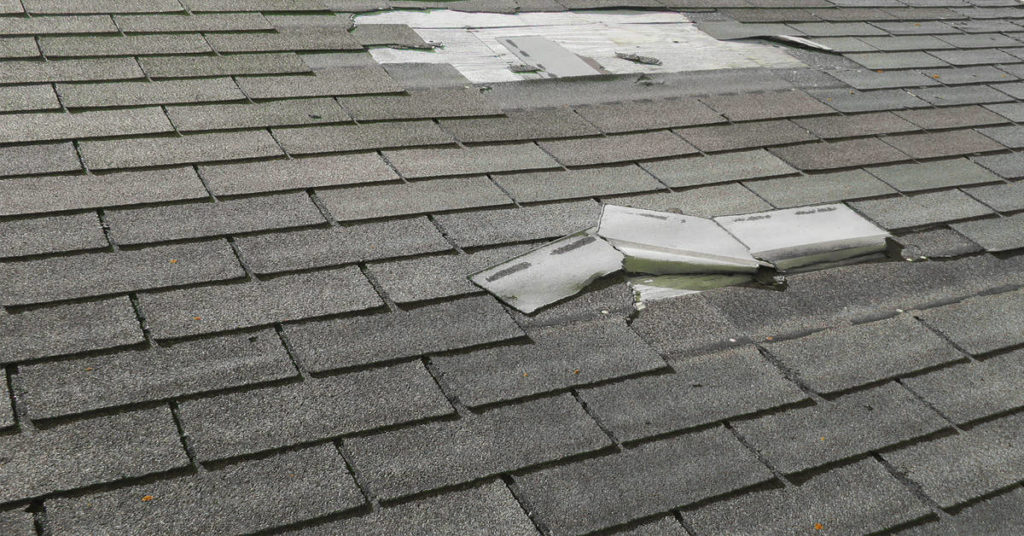
- Missing or damaged shingles: If you have a few missing or damaged shingles, you may be able to replace them temporarily until a professional can perform a more thorough repair.
- Severe storm damage: In the case of significant storm damage, such as a tree falling on the roof or extensive structural damage, it is crucial to prioritize safety and contact professionals immediately.
Attempting repairs in such situations can be extremely dangerous and requires the expertise of experienced roofing contractors.
Temporary Measures for Immediate Relief
During emergency roof situations, it’s crucial to take immediate action to minimize further damage and provide temporary relief. Here are some temporary measures you can take while waiting for professional help or during a temporary lull in severe weather:
How to Cover Leaks
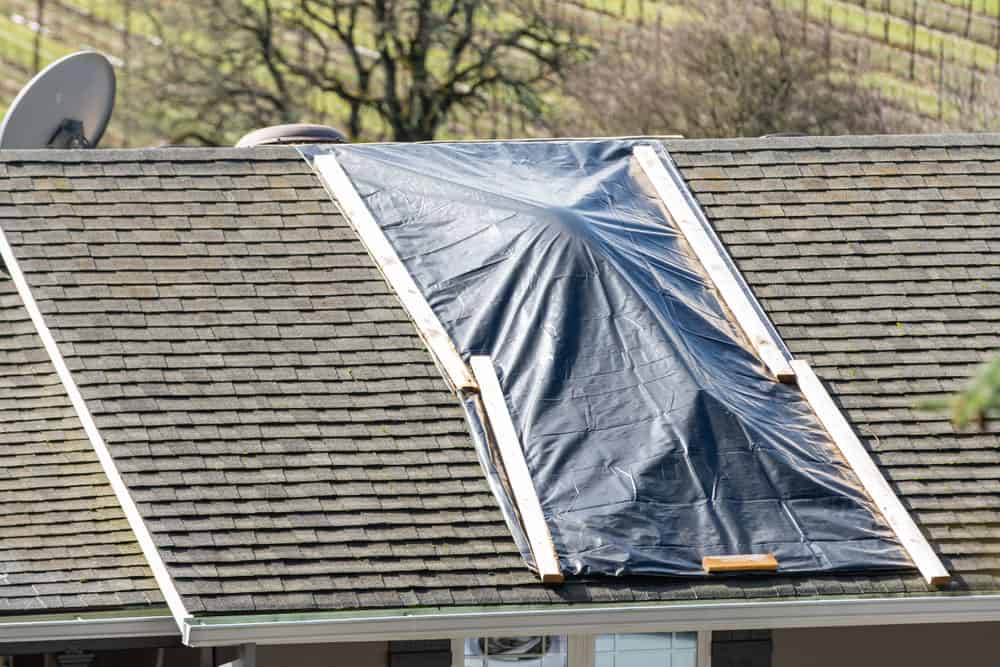
If you have a leaking roof, it’s essential to prevent water from entering your home and causing additional damage. Here’s a detailed explanation of how to effectively cover leaks using tarps or large plastic sheets:
- Identify the leaking area: Locate the source of the leak by inspecting the interior of your home. Look for water stains, damp spots, or visible dripping from the ceiling.
Trace the path of the water to determine the general area on the roof where the leak is originating.
- Gather the necessary materials: Obtain a tarp or large plastic sheet that is large enough to cover the affected area and extend beyond it by at least a foot on all sides.
You may need multiple tarps or sheets if the leak spans a larger area. Additionally, gather ropes or heavy-duty clips to secure the covering.
- Prepare the roof: Clear any debris or obstructions from the area where you will be placing the tarp. This will ensure a clean and stable surface for the covering.
- Position the tarp or plastic sheet: Carefully lay the tarp or plastic sheet over the leaking area, making sure it extends beyond the affected region.
Align the covering so that it follows the slope of the roof, allowing water to run off smoothly. If needed, enlist the help of another person to ensure proper positioning.
- Secure the covering: Once the tarp is in place, secure it tightly to prevent it from being dislodged by wind or rain.
Use ropes or heavy-duty clips to fasten the edges of the tarp to secure anchor points, such as roof vents, chimneys, or sturdy parts of the roof structure. Be cautious not to damage the roof surface when securing the tarp.
- Create a runoff channel: To avoid water pooling on the tarp, carefully shape it to create a slight slope that directs water away from the covered area. This will help prevent water from seeping through or causing additional damage.
- Regularly monitor and adjust: Periodically check the tarp or plastic sheet to ensure it remains secure and in proper position.
If any pooling or sagging occurs, gently adjust the covering to maintain the runoff channel and prevent water accumulation.
How to Temporarily Repair Shingles
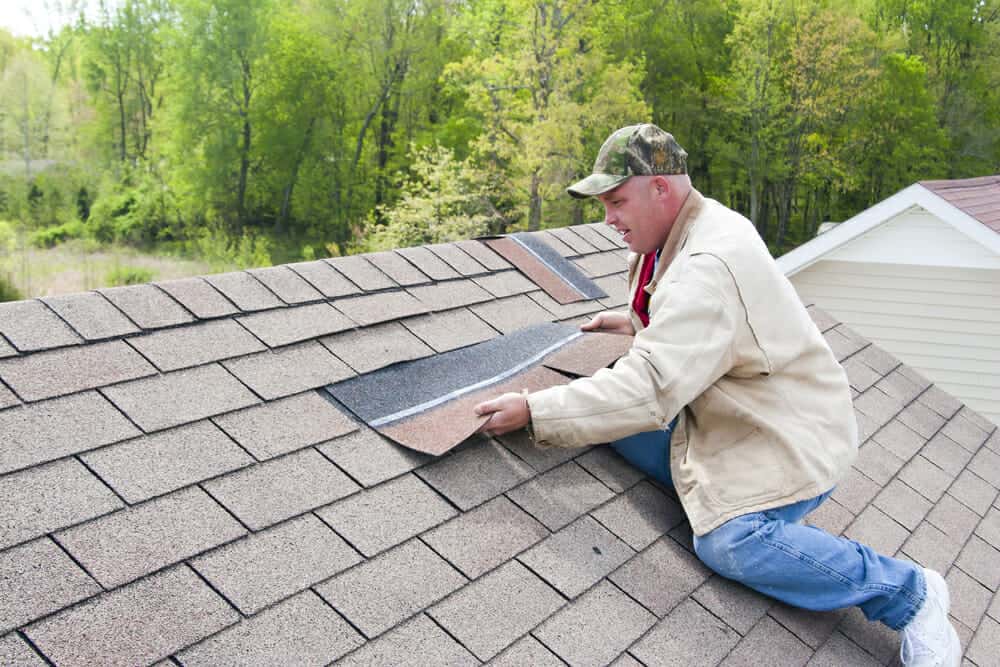
When dealing with missing or damaged shingles, providing temporary protection is crucial until permanent repairs can be made. Here’s an explanation of how to perform temporary repairs using roofing cement:
- Gather the necessary materials: For temporary repairs, you will need roofing cement, a putty knife or trowel for application, and gloves to protect your hands.
- Assess the damaged or missing shingles: Identify the specific shingles that are damaged, curled, or missing. Note the extent of the damage and the area that needs repair.
- Prepare the surface: Ensure the damaged area is clean and free of debris. Remove any loose or hanging pieces of shingle while being careful not to cause further damage.
- Apply roofing cement: Using a putty knife or trowel, scoop out a small amount of roofing cement from the container. Apply the cement to the exposed area of the roof where the shingle is missing or damaged.
Spread it evenly and smoothly, covering the entire damaged section. Be generous with the cement, ensuring a thick and durable layer.
- Press and secure the shingle: If the damaged shingle is still partially intact, carefully press it down into the roofing cement.
This will help create a more seamless appearance and provide additional protection. Ensure the shingle is properly aligned and flat against the roof surface.
- Smooth out the cement: Use the putty knife or trowel to smooth out the applied roofing cement. This will help create a watertight seal and improve the overall appearance of the temporary repair.
Make sure the cement is evenly spread and blends well with the surrounding roof material.
- Allow the repair to cure: Follow the manufacturer’s instructions for the roofing cement regarding the curing time. Typically, it takes a few hours for the cement to set and provide temporary protection.
Alternatively, you can use a temporary patch kit, typically available at most hardware stores.
These kits often contain materials like roofing cement, patches, and sealants that can be used to cover the damaged area temporarily. Follow the instructions provided with the kit to ensure proper application.
Remember, these temporary measures are intended to provide immediate relief and prevent further damage until a professional can assess and repair the roof properly.
It’s essential to contact a reputable roofing contractor as soon as possible to conduct a thorough inspection and perform any necessary permanent repairs.
Temporary solutions should not be seen as long-term fixes and should be replaced with permanent repairs as soon as possible to ensure the integrity of your roof.
Finding Professional Help
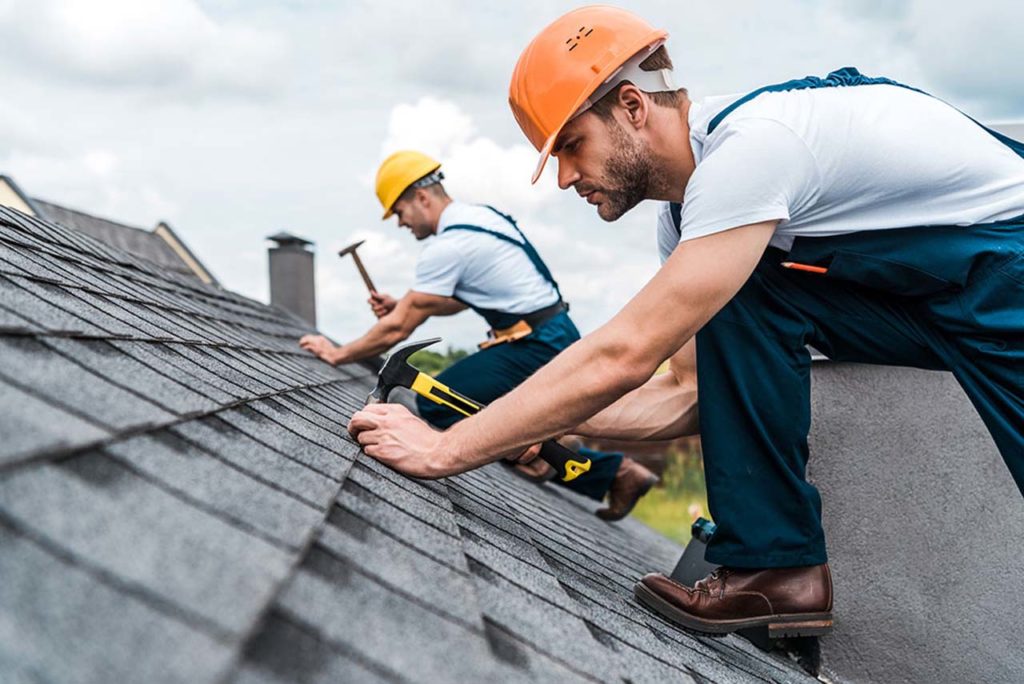
Not all emergency roof issues can or should be handled on your own. Here’s what to consider when seeking professional assistance:
- Choose a reputable contractor: Start by looking for roofing contractors or companies with a strong reputation in your local area.
Consider seeking suggestions from reliable individuals, such as close friends, family members, or neighbors who have recently undergone roof repairs or replacements.
Additionally, utilize reputable online resources and review platforms to find reliable professionals near you. Look for contractors with positive customer reviews and ratings.
- Verify credentials: Before hiring a roofing contractor, it’s crucial to verify their credentials. Check if they hold the required licenses and permits to operate in your area.
Licensed contractors typically undergo training and meet specific standards, ensuring their expertise and compliance with local regulations.
Additionally, confirm that the contractor carries appropriate insurance coverage, including liability insurance and workers’ compensation.
This protects you from any potential liability in case of accidents or property damage during the repair process.
- Assess experience and specialization: Different roofing contractors may specialize in various types of roofs or specific repair techniques.
Evaluate the contractor’s experience in handling emergency roof repairs and their familiarity with the specific issue you are facing.
An experienced contractor with relevant expertise will be better equipped to diagnose the problem accurately and provide effective solutions.
- Request references: Ask the contractor for references from their previous clients. Reach out to these references and inquire about their experience working with the contractor.
Questions you may ask include whether the work was completed on time, the contractor’s professionalism and communication, the quality of the repairs, and overall satisfaction with the service.
Feedback from past clients can provide valuable insights into the contractor’s reliability and the quality of their work.
- Obtain multiple estimates: To ensure fairness and competitive pricing, obtain estimates from multiple contractors. Request a detailed breakdown of the costs, including labor, materials, and any additional fees.
Although the cost is an important aspect to consider, it should not be the sole determining factor. Balance it with the contractor’s reputation, credentials, and references to make an informed decision.
Common Emergency Roof Issues and Solutions
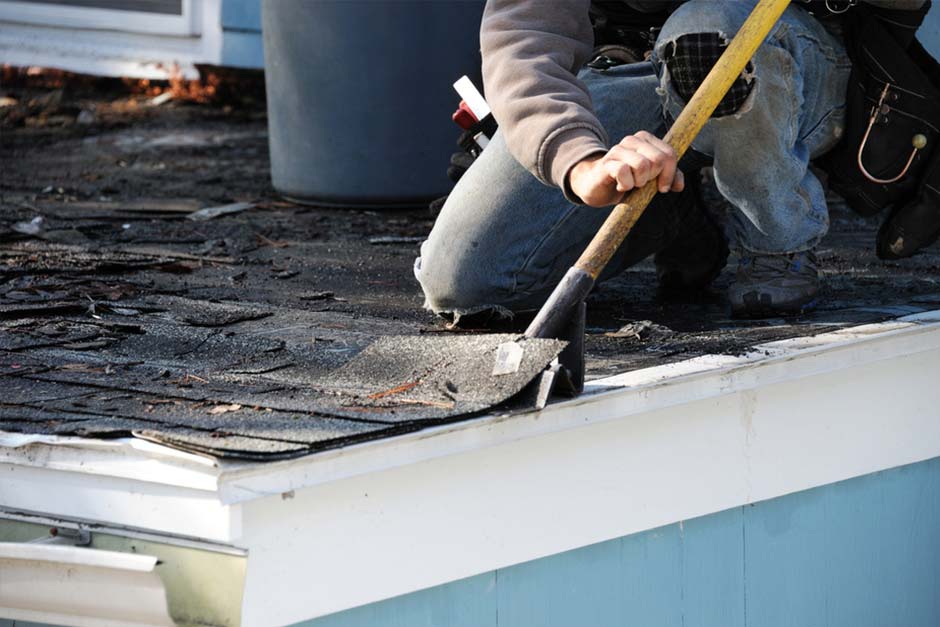
Let’s explore some common emergency roof issues and the steps to address them effectively:
- Leaks: Locate the source of the leak by inspecting the attic or the area directly beneath the roof damage.
Repair damaged flashing (thin strips of metal installed to the roof that help prevent water from entering your house). Seal any cracks or gaps, and replace damaged shingles as needed.
- Fallen trees or branches: If a tree has fallen onto your roof, prioritize your safety and evacuate if necessary. Contact professionals for emergency tree removal and consult a roofing expert to assess and repair the damage.
- Severe storm damage: After a severe storm, inspect the roof for visible signs of damage.
Document the extent of the damage through photographs for insurance purposes. Contact a professional roofer to conduct a thorough inspection and carry out the necessary repairs.
Preventive Measures for Future Emergencies
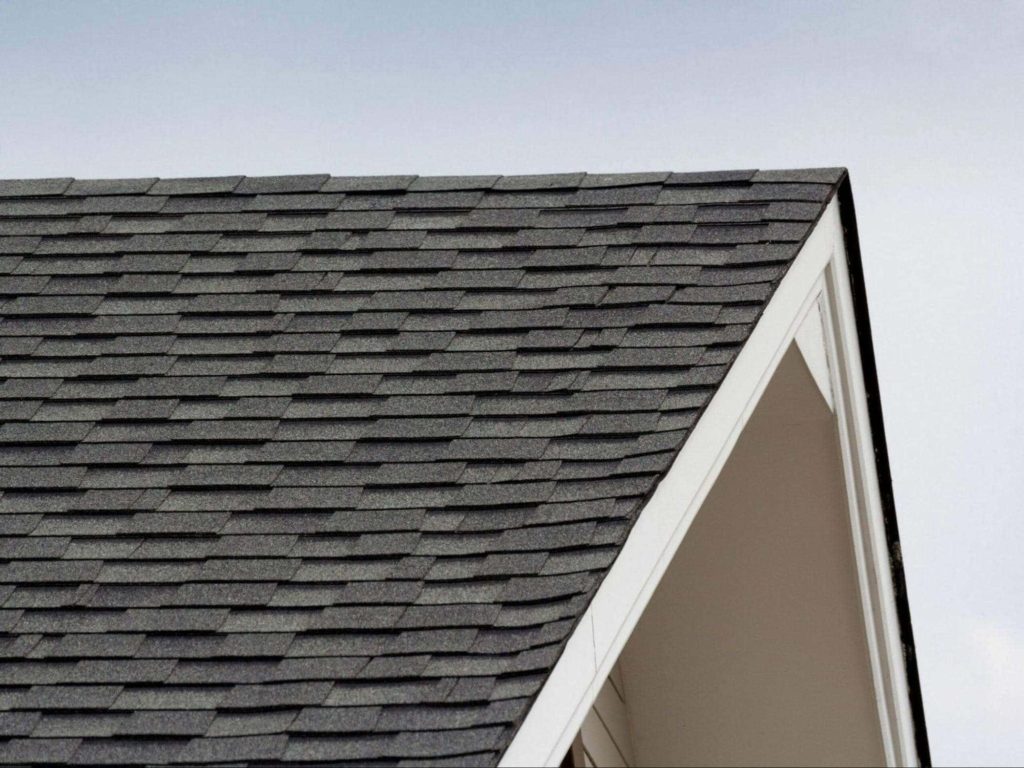
To minimize the risk of future roof emergencies, implementing regular roof maintenance practices is crucial. Here’s an expanded explanation of preventive measures to consider:
- Clear debris: Regularly remove leaves, branches, and other debris from your roof. Accumulated debris can trap moisture, leading to water buildup and potential damage to your roof.
Use a roof rake or broom with soft bristles to gently sweep away debris. Take caution not to damage the roof surface during this process.
- Inspect gutters: Clean and inspect your gutters and downspouts regularly, at least twice a year. Gutters play a vital role in directing water away from your roof and foundation.
Remove any leaves, twigs, or other debris clogging the gutters to ensure proper water drainage. Use a garden hose to flush out remaining debris and check for any leaks or misalignments.
Make sure to securely attach the downspouts and ensure proper water diversion away from the foundation.
- Schedule routine inspections: Hire a professional roofer to conduct annual inspections of your roof. Roof inspections can identify potential issues before they escalate into emergencies.
During an inspection, a qualified roofer will assess the condition of your roof, look for signs of damage or wear, and recommend any necessary repairs or maintenance.
They will check for loose or damaged shingles, deteriorating flashing, signs of leaks, and other issues that may compromise the integrity of your roof.
- Maintain proper attic ventilation: Adequate attic ventilation plays a vital role in preserving the lifespan of your roof.
It helps regulate temperature and moisture levels, preventing the buildup of excess heat and moisture that can cause roof damage.
Ensure that your attic is properly ventilated with vents or fans that promote air circulation and reduce the risk of moisture-related issues, such as mold or rot.
- Trim overhanging branches: If there are trees near your home, ensure that overhanging branches are trimmed regularly.
Overhanging branches can scrape against the roof, causing damage to shingles or creating pathways for pests to access your home. Trim back branches to maintain a safe distance from your roof.

